ADVERTISEMENT
Did you know nearly 75% of homeowners in America want more seats and storage at home? A window seat DIY is a great way to get both. It adds a lovely touch too. Whether you’re making a cozy spot for reading or a stylish bench for your morning coffee, building a window seat is doable. This guide will help you plan and do your window seat DIY. You’ll get tips and ideas to make your space warm and welcoming.
Key Takeaways
- Window seats add style and use to your place.
- Correct measurements are key for a good build.
- Picking the best materials makes your window seat better.
- Adding storage solutions increases your window seat’s usefulness.
- Always put safety first when making your DIY window bench.
- Keeping it up means your window seat stays nice and strong.
Why You Should Consider a Window Seat
A window seat adds charm and functionality to any home. It is a popular choice among homeowners. Beyond just looking good, a window seat makes a nook special, offering functionality, style, and comfort.
Benefits of a Window Seat
Incorporating a window seat offers many advantages. It provides extra seating and a cozy spot for reading or relaxing while looking outside. A window seat with storage also helps keep your home tidy by offering a spot for blankets, books, and more.
ADVERTISEMENT
Ideal Spaces for Window Seats
Window seats work well in many areas within a home. They fit perfectly in:
- Living rooms, creating a social gathering spot
- Dining rooms, offering a unique seating arrangement
- Bedrooms, serving as a tranquil retreat
They can be custom-made to fit unique spots like bay windows or alcoves. This improves their function and beauty.
The Aesthetic Appeal
A window seat makes a room look better. It adds architectural interest and warmth. You can match it with your decor, whether your style is traditional or modern. With the right upholstery and decorations, a window seat can become a room’s highlight.
Planning Your Window Seat Project
Starting to build your own window seat begins with planning. You must take accurate measurements and pick the best materials. These steps ensure your DIY window bench turns out as you hope. They help make your vision of a cozy nook come true.
Measuring Your Space
Start by measuring the area around your window. Check the height, width, and depth. Don’t forget to note any baseboards or vents in the way. Use a tape measure and pencil for precise marks. This is crucial for making good plans for your window seat.
Choosing the Right Materials
Choosing strong materials is key for your window seat to last and look good. For the frame, 2×4 lumber is a good choice, and plywood works well for the seat. MDF can make the front look smooth. The right fabric for cushions matters too. Picking materials you like and that last long is the first step to being happy with your window seat.
Design Inspiration
Find design ideas that match what you want. You can find lots of unique styles online, whether you’re into traditional or modern looks. Adding personal touches and matching your room’s style makes the space better. Your choices will make your window seat a standout feature at home.
Tools and Materials Needed for DIY
Before you start building a window seat, you need the right tools and materials. A good setup helps make the project successful. Here’s what to think about.
Essential Tools for Window Seat Construction
Precision and sturdiness are key for building window seats. Focus on getting these essential tools:
- Circular saw – for precise cuts on wood materials for window seat
- Drill – for creating holes and securing components
- Level – to make sure everything sits straight
- Measuring tape – for accurate measurements
- Brad nailer – to secure pieces together efficiently
Recommended Wood and Upholstery Materials
Choosing the right wood and upholstery is crucial. It affects both the function and look. Popular wood choices include:
- 2×4 lumber – sturdy and versatile for framing
- Plywood – ideal for the seat base and finishing
For a comfy seating area, pick high-quality upholstery. You should consider:
- Foam cushions – for added comfort
- Durable fabrics – that match your room’s theme
Optional Accessories
Adding optional accessories can improve your window seat’s appearance and use. Think about adding:
- Throw pillows – for extra comfort and style
- Decorative knobs – to jazz up storage areas
- Lighting options – to add warmth and ambiance
The Step-by-Step Guide to Building Your Window Seat
Building a DIY window seat adds both function and style to any room. Follow this simple guide to construct a sturdy and attractive window seat.
Preparing the Area
First, clear out the spot where you’ll install the window seat. Take away any furniture or moldings in the way. Then, measure the area carefully to make sure your seat will fit just right. This prepares you for the building steps ahead.
Constructing the Frame
Now, start on the frame with 2×4 lumber. Cut the wood to size using a miter saw. Screw the pieces together to form a strong foundation. It’s important to keep everything level as you build.
Adding Cushioning and Upholstery
With the frame ready, add the plywood seat on top. Then, lay cushioning for added comfort. Secure the fabric over the cushioning with a staple gun. Choosing your fabric lets you customize the look of your window seat.
Creative Storage Solutions for Your Window Seat
Getting more from your window seat is about more than comfort or looks. Smart storage ideas can boost both function and style. Built-in storage makes your area tidy and keeps important things close. Here, you’ll find different smart ways to make your window seat better.
Built-In Storage Options
Adding built-in storage under the seat is smart. Using piano hinges gives easy access while looking seamless. This type of storage is versatile. It can hide blankets or store toys, making it handy and customizable.
Stylish Baskets and Boxes
For a better look, add cool storage boxes and cushions. Nice baskets can go under or next to the seat. They mix storage with decoration. Pick materials that go with your decor but are also useful. This helps in organizing while keeping things nice to look at.
Hidden Compartment Ideas
Clever hidden compartments can greatly boost your storage. These invisible spaces keep things tidy and out of the way. Styles vary from drawers to slide panels, blending storage without being seen. Focusing on looks without losing function turns any window seat into an attractive spot.
Customizing Your Window Seat Design
Once your window seat is ready, it’s time to make it your own. Use different painting styles and decorations for your window seat. This will turn it into a unique and beautiful part of your home. The final touches you add are key in shaping its look and feel.
Painting and Finishing Techniques
Choosing the right paint or stain is important to match your home’s style. Make sure to sand and prime the surface for a smooth finish. Pick painting styles that show off your unique taste, from bright colors to soft, earthy shades.
Adding Decorative Elements
Add trim or moldings to decorate your window seat. These details can make it look more elegant. Think about how these elements can make your window seat stand out in your room.
Personalizing with Throw Pillows
Throw pillows can add both comfort and style. Combine different patterns and colors that you love. This makes your window seat a cozy spot to enjoy.
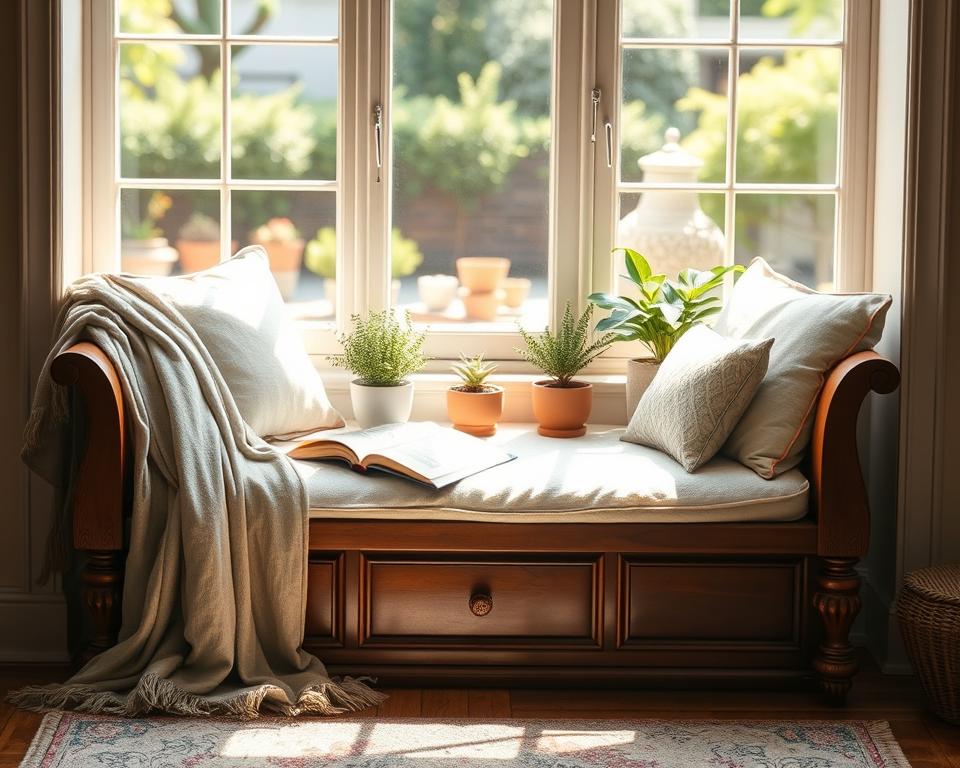
Safety Considerations When DIYing a Window Seat
Creating a window seat needs you to think about safety to make it safe and usable. Think about things like how much weight it can hold, making sure it’s stable, and making it safe for kids. These steps are key for safety and how well it works.
Weight Restrictions and Support
Knowing how much weight a window seat can hold is crucial. Always choose strong materials, like solid plywood or wood, for the base. This helps spread out the weight and stops the seat from breaking under too much pressure.
Ensuring Stability and Safety
A stable window seat starts with putting it together right. Make sure every screw and fastener is tight after building the frame. A sturdy build not only offers a reliable place to sit but also keeps it safe for everyone.
Childproofing Tips
If kids will use the window seat, you need to childproof it. Make sure storage spots are easy for adults to open but hard for kids. Check regularly for dangers and keep the area tidy to lower risks.
Maintenance Tips for Your Window Seat
Keeping your window seat in good shape is key to its coziness and style. Simple maintenance tips can make it last longer and look better.
Cleaning and Upkeep
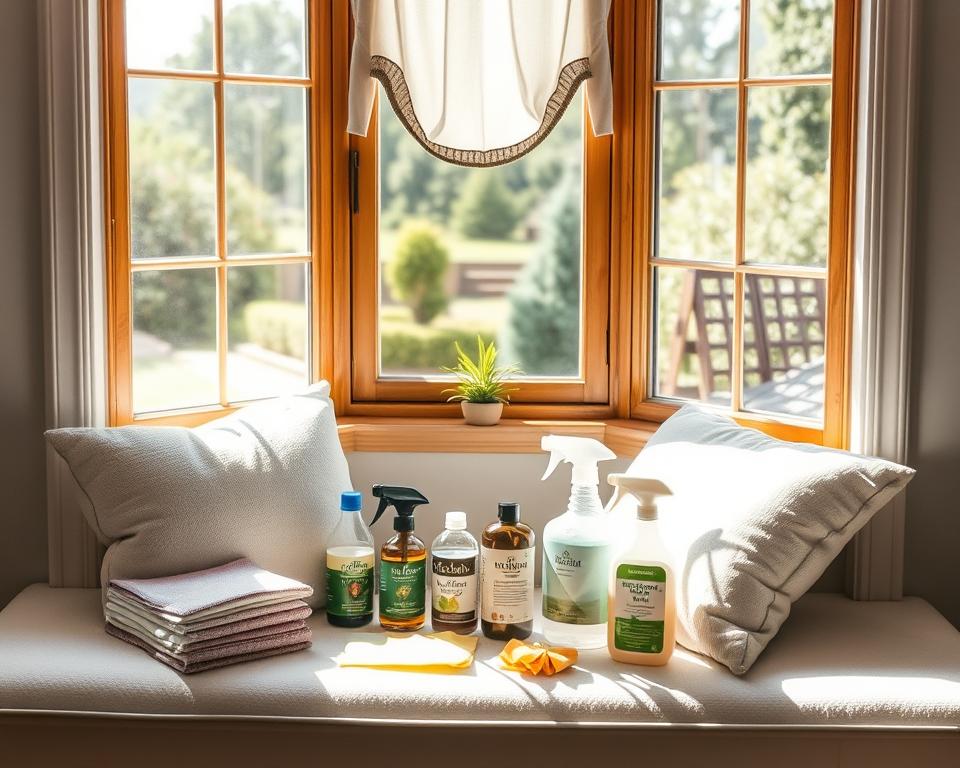
Clean your window seat regularly to keep it looking great. Vacuum fabric parts to reduce dust. Use a soft cloth for wooden areas, and add polish for extra shine. Clean up spills right away and use fabric cleaners when needed.
Repairing Worn Upholstery
Over time, your window seat’s upholstery might show wear. You can fix it by sewing open seams or replacing the fabric. Choose durable materials that look good for a long time.
Seasonal Adjustments
Change your window seat with the seasons for more comfort. Add or remove cushions as the weather changes. Use thick cushions for warmth in winter and lighter ones for summer breezes.
Inspiration: Stunning Window Seat Designs from Around the Web
Looking to add a cozy window seat to your home? You’ll find countless style options. From sleek, modern designs to warm, rustic ideas, there’s a perfect match for everyone. These designs make seating areas look lovely and improve your space’s look.
Modern Styles to Consider
Modern window seats do more than just look good. Think about adding built-in storage under the seat to hide things away. With bold colors, fun patterns, and clean designs, they make your home feel fresh and welcoming.
Rustic Designs with Charm
Prefer something classic? Rustic window seats use natural wood and soft fabrics. They feature cozy designs with reclaimed wood and comfy upholstery. These seats turn any corner into a snug haven.
Minimalistic yet Functional Examples
Simple designs can also impress. Minimalistic window seats offer clean lines and clever design, proving that less can be more. They fit well in snug areas without skimping on comfort. With smart built-in storage, it’s easy to keep things tidy and functional.