ADVERTISEMENT
Did you know American homeowners spend about $3,500 on home decor every year? If you want to jazz up your space without spending a lot, try making a picture ledge shelf. This project lets you show off your favorite pictures, plants, and art in an organized way. Plus, it makes your room look better. In this guide, we’ll show you how to make your own DIY picture ledge. We’ll cover what you need and give you ideas to make it look awesome. Your new shelf will be an eye-catching spot in any room.
Key Takeaways
- Discover the definition and purpose of a picture ledge shelf.
- Learn about essential materials and tools needed for your DIY project.
- Follow easy steps to measure, cut, and assemble your shelf.
- Explore creative ways to decorate and personalize your picture ledge.
- Understand safe mounting practices to ensure your shelf stays secure.
- Avoid common mistakes to make your project successful.
What is a Picture Ledge Shelf and Why Use One?
A picture ledge shelf is a narrow, horizontal shelf for displaying artwork and photos. It’s simple design means you don’t need extra brackets or complex systems. This shelf uses wall space well and keeps things looking neat. It makes your space more stylish and allows you to easily show off memories.
Definition and Purpose
A picture ledge shelf is meant to neatly display various decorations. It’s great because you can change out items without hurting your walls. This is perfect for renters or anyone who likes to switch up their decor. A picture ledge turns bare walls into areas full of stories with your memorabilia.
ADVERTISEMENT
Benefits of Picture Ledge Shelves
Picture ledge shelves fit with many decorating styles, from farmhouse to modern. They keep photos and art looking organized. Changing displays is easy and doesn’t damage your walls. These shelves let you easily swap in new items, keeping your decor fresh.
| Benefits | Description |
|---|---|
| Versatility | Complements various decorating styles and themes. |
| Ease of Change | Allows for quick updates without damaging walls. |
| Organizational Benefits | Facilitates organized display of items and creates focal points. |
| Minimalist Aesthetic | Maintains a clean and clutter-free appearance. |
Materials Needed for Your Project
Creating a picture ledge shelf is a fun way to show off your favorite pictures and art. To make a strong and nice-looking ledge, picking the right materials and tools is key. Here’s a list of everything you’ll need for this project, including the best wood, must-have tools, and finishing touches.
Wood Suggestions for Your Ledge
Choose 1×3 or 1×4 poplar boards for your picture ledge shelf. Poplar is tough, easy to shape, and looks neat. With various finish options, it’s perfect for any room’s look.
Tools You’ll Need
Before you start, make sure you have these tools ready:
- Miter saw for precise cuts
- Kreg pocket-hole jig for strong joints
- Drill with the right bits for holes
- Clamps to hold pieces tight while you work
Finishing Materials
The final step is key for a sleek finish. Pick top-notch materials to coat and improve your shelf. You can use:
- Wood stain to bring out the color
- Polyurethane for a lasting cover
- Fine-grit sandpaper for smooth edges
Choosing the correct materials and tools for your picture ledge project makes it more fun. It also ensures you’ll end up with a lovely addition to your space.
Steps to Build Your Picture Ledge Shelf
Making a picture ledge shelf is both easy and rewarding. Follow this guide to create a personalized ledge shelf. Begin by collecting your materials and tools. This guidance takes you through the steps of measuring and cutting wood, putting the shelf together, and then sanding and finishing for a smooth appearance.
Measuring and Cutting the Wood
First, decide how long you want your shelf. A common length is 48 inches, but you can change this to fit your area. Measure carefully and mark where you’ll cut the wood. Make sure your cuts are straight with a saw for an easy build later. Measuring correctly is key to avoid mistakes while cutting.
Assembling the Shelf
With the wood cut, it’s time to assemble the ledge parts. Drill holes in the back piece to join the front and bottom easily. Fasten them with screws. A sturdy shelf looks great and safely holds what you display.
Sanding and Finishing Touches
After assembling, sanding and finishing are next. Carefully sand every surface to be smooth and free of splinters. After sanding, pick your favorite stain or paint and brush it on evenly. Finish by sealing the shelf with polyurethane. This step boosts the look and life of your shelf, making it a standout piece in your decor.
Choosing the Right Location for Your Shelf
Finding the best place for your picture ledge is key. A shelf in the right spot not only shows off your items but also makes the room look better. Start by checking your walls for the perfect place that catches the eye and is practical.
Finding the Perfect Wall Space
Search for spots that are easy to see and reach. Corners or big, empty walls are great choices. If you plan to display photos or plants, pick a spot with natural light. But avoid places with too much sun, as it could damage your things.
Considerations for Height and Style
The height of your shelf matters a lot. Placing it around 48 inches off the ground puts it right where most people can see it well. This makes sure it’s visible but doesn’t get in the way. Think about the shelf’s look too.
Make sure the shelf’s color and style fit with what you already have. This will make your room look united. You can use painter’s tape to mark the spot you’re considering. This helps you visualize the shelf before you install it.
Decorating Your Picture Ledge Shelf
Creating a personal gallery on your picture ledge takes creativity and style. A well-decorated shelf boosts your home’s look and displays your memories. Here are ideas for using photos and seasonal decor on your ledge.
Ideas for Displaying Photos
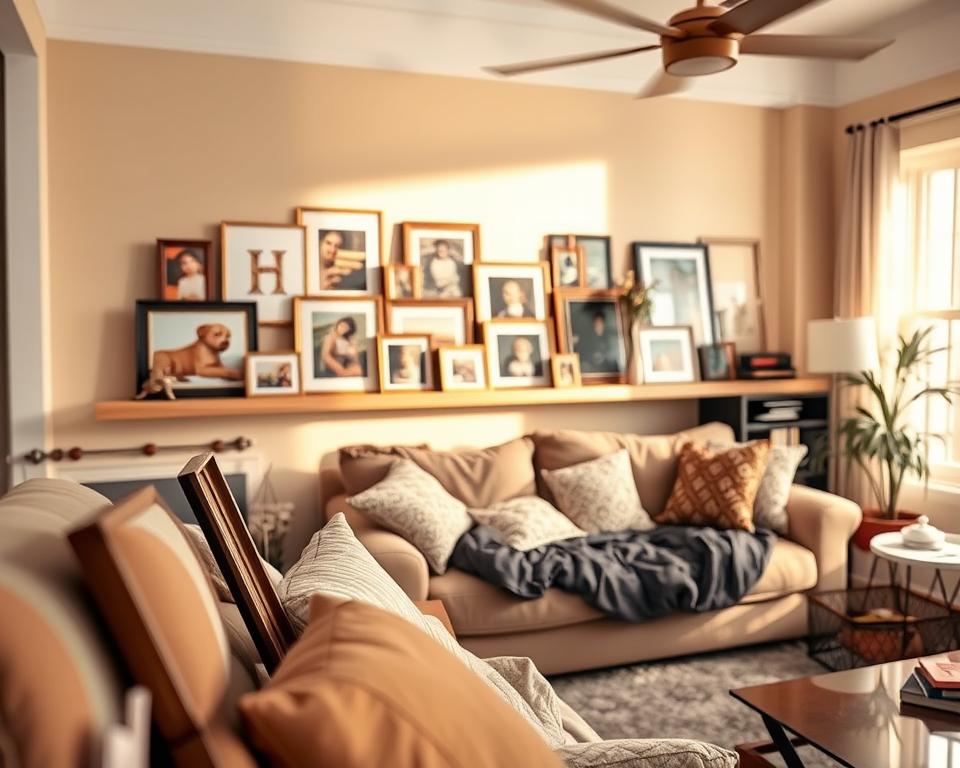
Try different photo frames for an eclectic feel. Mix sizes, colors, and finishes for interest. Well-placed photos bring back memories, making your ledge stand out.
Using Plants and Artwork
Small plants or succulents add life and color. They complement photos and improve ambiance. Artwork with your photos creates a rich background, enhancing your decor.
Seasonal Decor Suggestions
Changing decor with the seasons keeps things fresh. For holidays, switch up items for themed pieces. This keeps your ledge looking festive and interesting.
Mounting Your Picture Ledge Shelf Safely
It’s crucial to make sure your picture ledge shelf is installed securely. This matters for both the safety of your home and its looks. Deciding to use studs or wall anchors can really affect how steady your shelf stays. Plus, doing it right keeps your decor looking good and safe.
Studs vs. Wall Anchors
Mounting your shelf to wall studs is the securest way. You can find these studs with an electronic stud finder. If there are no studs, use wall anchors to keep your shelf stable. These help spread the weight and make sure your shelf doesn’t fall, especially with heavy things on it.
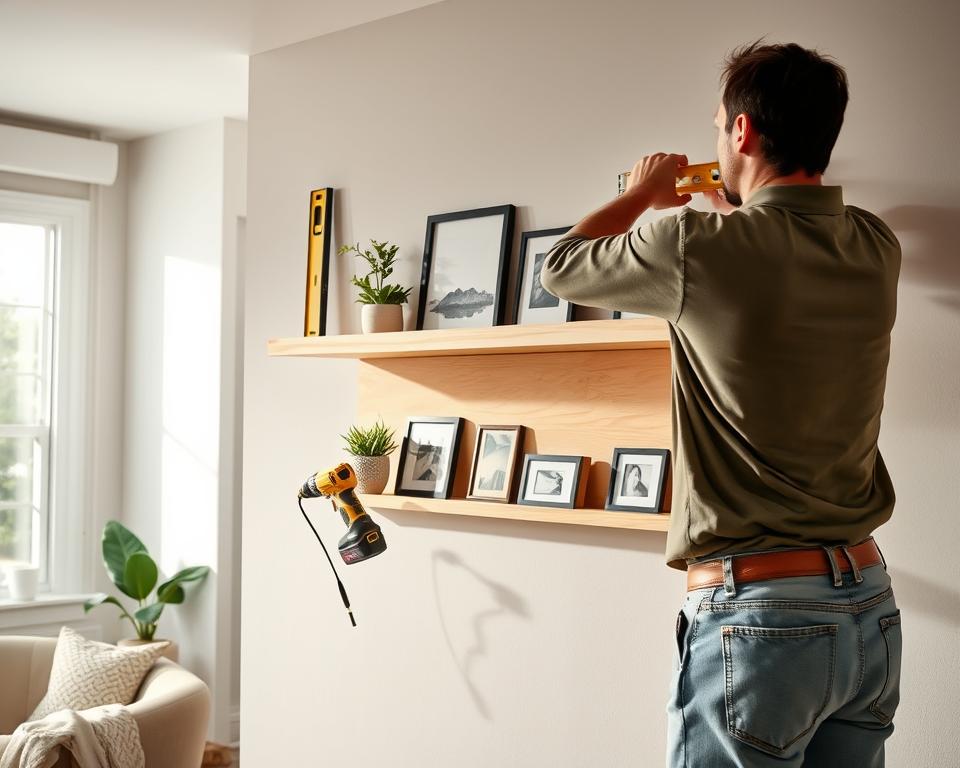
Leveling Your Shelf
Having your shelf level is key for a nice look. Use a level tool to check it’s straight before you fix it to the wall. This makes sure your decor looks balanced and keeps looking great over time.
Maintenance and Care for Your Ledge
Keeping your picture ledge clean and looking good is key. It needs regular care to maintain its beauty and the appeal of the items it holds. By following a few easy steps, you can keep your ledge in great condition. This lets you enjoy your decor for a longer time.
Cleaning Tips
To clean your picture ledge, start with a soft microfiber cloth for dusting. This step keeps the wood shiny and stops dirt from collecting on your favorite items. Now and then, use a slightly wet cloth for a deeper clean. Be sure to avoid leaving moisture, which can harm the shelf and decorations. Consistent care will keep your decor looking its best for years.
Rearranging Your Decor
Changing up your picture ledge decor can make your space feel new again. Try swapping photos, adding fresh artwork, or moving plants around. This refreshes your shelf and lets you see your belongings in a new light. Taking time to try different arrangements is a fun way to make your ledge unique and engaging.
Creative Variations of Picture Ledge Shelves
Exploring creative ways to use picture ledge shelves can make your space look better and feel more personal. You can choose from many styles, like floating shelves or unique corner designs. These options let you tailor your decor to your own taste and needs.
Floating Shelves vs. Traditional Ledges
Floating shelves create a modern look by making it seem like your items are floating on the wall. They’re sleek and simple, perfect for modern rooms. On the other side, traditional ledges are thicker and can hold heavier items like big frames or art. Both kinds help organize your space while adding to its look.
Multi-Layered Ledge Designs
Adding layers to your picture ledges can make your decor pop. You can mix different heights and lengths to draw attention to your favorite things. This way, you can show off your photos, books, or trinkets in a lively, custom way.
Corner Shelves Ideas
Using corner shelves is a great idea, especially if you’re tight on space. These shelves make use of corners that usually get ignored. They’re perfect for showing off plants, artwork, or photos. By using corner shelves wisely, you create more room and add a special touch to your home.
Common Mistakes to Avoid
When setting up a picture ledge shelf, it’s key to dodge common errors for better use and look. Spotting these slip-ups early helps keep your shelf safe and effective. It’s all about making sure your shelf does its job well, without trouble.
Overloading Your Shelf
Putting too much on your shelf is a big no-no. Too much weight can stress the shelf and harm what’s on it.
Every shelf can hold only so much weight, as the maker’s guide explains. Ignoring this can make the shelf bend, warp, or break. Knowing the weight limit helps your shelf last longer.
Forgetting to Secure Properly
Not fixing your shelf well can end badly. It’s vital to secure the picture ledge shelf to avoid it falling off the wall. This could result in lost decor or accidents.
Make sure to anchor shelves into wall studs or use the right wall anchors. This greatly cuts down the risk of a bad install.
| Mistake | Resulting Issue |
|---|---|
| Overloading the shelf | Potential damage and collapse of items |
| Improper securing | Shelf detachment from wall |
| Ignoring weight guidelines | Increased risk of shelf failure |
| Not checking stability | Unbalanced displays and accidents |
Budget-Friendly Alternatives
You don’t have to spend a lot to create a gorgeous picture ledge shelf. There are plenty of cheap DIY options for picture ledges that let you get creative and save money. You can use old materials in a new way to decorate without breaking the bank. Check out these suggestions.
Repurposing Old Materials
Think about using wood from unused furniture, pallets, or scrap wood. By sanding and finishing it, you can make beautiful shelves. Using old stuff for decor is a smart budget move and lets you express yourself. Plus, it feels great to give old things a new purpose in your home.
Thrift Store Finds
Thrift stores are full of hidden gems for your picture ledge. Here, you can find unique items for decoration or to build with. You might find old frames, brackets, or shelves that can be used in your project. These finds can make your project look good for less.
Tips for Personalizing Your Shelf
Adding a personal touch to your shelf brings out your unique style. Begin by picking a paint or stain that goes well with your space for DIY projects. Choose lively colors or soft shades to set the mood you want. This change can make a plain shelf pop in your room.
Customizing with Paint or Stain
Picking the perfect finish is crucial. Use top-quality paint or stain for lasting beauty. This not only preserves the wood but also boosts its look. Find colors that match your room’s style. The finish you choose can change the feel of your space, whether it’s rustic or modern.
Adding Unique Accessories
Adding special accessories to your shelf makes it truly yours. Think about including decorative books, old keepsakes, or handmade art that shows off who you are. Arrange these items with different heights and textures for an interesting look. This setup makes your decor lively and draws visitors into your space.
- Mix and match colors and textures
- Use various sizes of items for diversity
- Incorporate personal treasures and photos
Creating a distinctive picture ledge is all about creativity and your personal taste. Enjoy customizing your DIY shelf project. Let it reflect your personality through your chosen accessories.
Conclusion: Enjoy Your New Picture Ledge
Making a picture ledge isn’t just about adding decor; it’s a way to display precious memories and your own style. The advantages of a picture ledge go beyond its function, turning your space into a personalized display. As you arrange photos, art, and keepsakes, you’ll see how this DIY project not only makes your home look better. It also brings happiness by showcasing the memories you cherish.
Start the creative journey and try out various layouts. A picture ledge’s charm is its adaptability—switch up items whenever your preferences change or with each new season. This DIY project makes your home more vibrant and personal. It celebrates the parts of your life that are most meaningful.
Your picture ledge mirrors your life story, changing and growing with you. Enjoy the process of decorating and the stories behind every picture. Each adjustment makes your ledge even more special and unique to you.