ADVERTISEMENT
Did you know an accent wall can make your home look 20% more valuable? With a simple DIY accent wall molding tutorial, you can make a plain room stylish and personal. It won’t cost you a lot. This guide has step-by-step instructions, along with tips and tricks. You’ll learn how to create an amazing accent wall. We cover everything, from picking materials to how to put them up.
Are you ready to make your home look better? Let’s explore accent wall molding together. You’ll see it’s not hard to improve your rooms.
Key Takeaways
- Accent walls can significantly boost your home’s visual appeal and value.
- DIY accent wall molding is an affordable way to showcase personal style.
- Understanding different types of molding can enhance your design choices.
- Proper planning and preparation are key for successful installation.
- Clean lines and the right finishes ensure a polished look.
- Maintenance is essential for keeping your accent wall looking fresh.
Why Choose an Accent Wall for Your Home?
An accent wall can totally change a room’s feel. It’s an affordable way to boost your decor without a big remodel. You can make any space stand out and feel cozy, adding your personal touch.
ADVERTISEMENT
Benefits of Accent Walls
Accent walls are great for many reasons in home design. They grab attention and let you show off your style with colors and patterns. You can spotlight cool parts of a room or set a cozy scene for your furniture and artwork.
The benefits include:
- Enhancing depth and dimension in spaces.
- Offering an opportunity for creativity with bold or subtle designs.
- Achieving a stylish look without the need for major renovations.
Popular Accent Wall Trends
The latest trends in accent walls keep changing. Right now, wood accents and geometric designs are super popular. Bold colors, like deep jewel tones and soft pastels, are also trending. There are so many accent wall ideas out there, making it easy to make your space unique:
- Reclaimed wood panels for a rustic feel.
- Geometric patterns using paint or wallpaper for a contemporary edge.
- Playful designs that feature multiple colors for a lively atmosphere.
Understanding Different Types of Molding
Choosing the right molding is key to creating beautiful accent walls. Each molding type has its own role and adds a different look. Here are three top choices to enhance your interior design.
Crown Molding
Crown molding is a classic that brings elegance, smoothly connecting walls and ceilings. It helps rooms look taller and more sophisticated. With a variety of styles available, it’s easy to match crown molding with your decor.
Baseboard Molding
Baseboard molding finishes the lower part of walls, protecting them from damage. It adds beauty to a room while being functional. The right baseboard molding links your accent wall to the entire room.
Wainscoting
Wainscoting is great for both looks and wall protection. It brings a unique texture and can turn a simple wall into a standout feature. It comes in many styles and heights, making walls both beautiful and sturdy.
Tools You’ll Need for Your DIY Project
Getting ready to install accent wall molding means having the right tools first. You’ll need to gather essential and optional tools for a smooth and efficient job. Here is a list of key tools divided into necessary and nice-to-have categories.
Essential Tools
- Mitre Saw: This tool provides precise angle cuts, which is essential for creating neat corners.
- Nail Gun: Saves time and effort in attaching the molding to the wall.
- Measuring Tape: Use this for accurate dimensions, ensuring the molding fits perfectly.
Optional Tools for an Easier Job
- Laser Level: Helps ensure that your accent wall molding is straight, aiding in a professional finish.
- Square Block: Ensures that your cuts are true and corners are square, improving alignment.
Using these tools and following our tips can really boost your project. They help make your DIY project enjoyable and lead to amazing results on your wall.
Choosing Your Materials
Choosing the right materials is key to a beautiful accent wall. The materials you pick not only affect the wall’s look but also its durability and feel. It’s important to know your options to make a smart choice for your home.
Types of Molding Materials
There are many great materials for molding on accent walls. Each one has special features:
- MDF (Medium-Density Fiberboard): This is an affordable choice that’s easy to paint and shape. It’s light and perfect for detailed patterns.
- Wood: Wood adds a timeless beauty and can be painted or stained. It comes in various strengths and prices.
- Polystyrene: Great for fancy designs and it doesn’t mind moisture, so it’s good for damp places.
Color and Finish Options
Color and finish matter a lot when planning your molding. Here are some tips:
- Satin finishes add depth whether they match or stand out from the wall color.
- Bright colors are bold, while neutral shades give a subtle elegance.
- Trying different finishes like matte or glossy lets you customize your look.
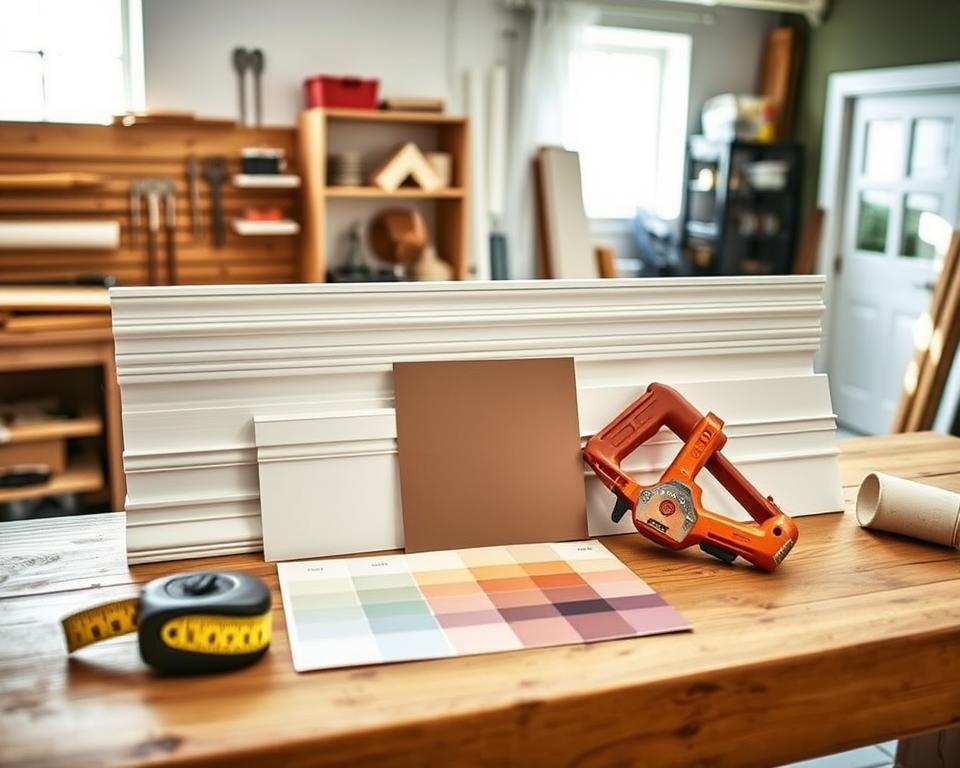
Planning Your Accent Wall Design
To make the perfect accent wall, you need to plan well. A smart design makes your space better and shows off your style. First, you need to measure the wall correctly. Knowing the size helps you pick the right molding, colors, and layout.
Measuring Your Wall Space
To start, find out your wall’s height and width. Use a tape measure for accuracy. Remember to think about how furniture or decor could impact your design. You want your accent wall to fit in smoothly with the room.
Sketching Your Design
After measuring, sketch your design. You can use graph paper or painter’s tape to help see it. Aim for a design that looks good in your space and keep everything balanced. Paying attention to these details will make your accent wall stand out.
Preparing the Wall Surface
Before you start your project, make sure the wall is ready for molding. Getting the wall prepped is key for a great look. This means cleaning the wall and checking for any repairs needed.
Cleaning and Repairing the Wall
First, look for cracks, holes, or other issues on your wall. If there’s damage, use patch compound to fill it. Smooth it out with a putty knife. After fixing the wall, you need to clean it. Dust and grease can mess with the molding sticking. Clean it well with warm water and a mild cleaner.
Applying Primer
Once you’re done cleaning and fixing, priming is your next step. Primer makes the wall ready for molding. It helps paint stick better and gives an even base. Use a high-quality primer to seal the wall. This stops the paint from absorbing too much. Pick the right primer for your wall and follow the directions for applying it.
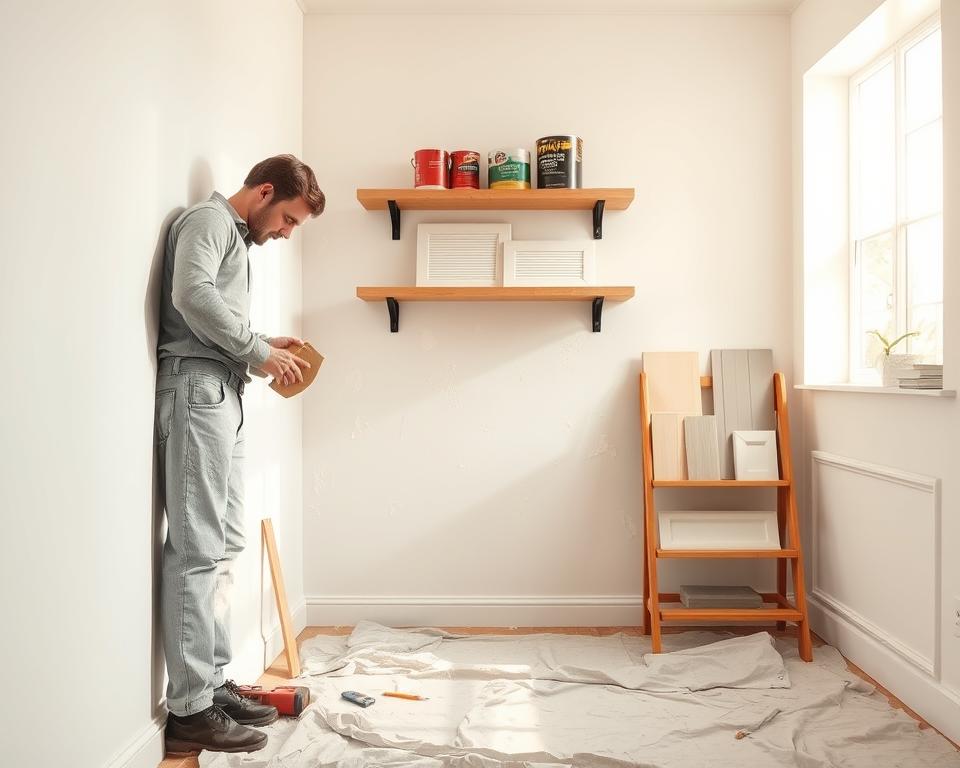
Cutting the Molding to Size
Getting the measurements right and making neat cuts are key in building an accent wall with molding. If you cut accurately, the molding will fit perfectly on your wall. This will make your accent wall look better. Here’s what you need to know about measuring and cutting.
Measuring Accurately
Start by measuring your wall and figuring out how long each molding piece needs to be. Measure twice to avoid mistakes that could waste materials. Use a measuring tape for the lengths. Remember to consider any angles or corners for a perfect fit.
Best Cutting Techniques
The right tools make all the difference in your cuts. A miter saw is great for angled cuts, like at corners where moldings meet. Here are the best cutting tips:
- Set your miter saw to the correct angle before cutting.
- Use a stop block when making several cuts to keep lengths the same.
- Cut slowly to avoid damaging the molding.
- Check each piece with your measurements for a tight fit.
By following these steps, you’ll improve your skills and create an accent wall that stands out. It will impress anyone who sees it.
Installation Techniques for Molding
Installing molding properly requires planning and careful steps. First, secure the base molding. Then, add the vertical pieces. Using a brad nailer makes installation easier and ensures the molding sticks to the wall. Make sure everything is level. This ensures uniformity in your project.
Attaching the Molding to the Wall
Start with the base pieces at the wall’s bottom. Make sure they’re straight by using a level. Nail them in place once they’re aligned. Next, attach the vertical pieces in the same way. This method helps avoid mistakes for a great finish.
Tips for Perfect Alignment
Perfect alignment is key for DIY accent wall molding. Begin at the wall edges and head towards the center. This lets you adjust as needed, keeping things even. Always check your levels to keep the height and spacing consistent.
| Installation Step | Technique | Tip |
|---|---|---|
| Install Base Molding | Use a brad nailer for quick attachment. | Ensure it is level before securing. |
| Position Vertical Pieces | Align with base and secure with nails. | Work towards the center for better alignment. |
| Final Alignment Check | Use a level across all pieces. | Adjust as needed before final nailing. |
Finishing Touches
The last steps of your DIY accent wall project are very important. They add the sparkle your wall needs to truly shine. Paying attention to caulking and painting adds a big boost in looks with little effort. First, fill all gaps between the molding and the wall with caulk. Doing this makes the transition smooth and improves your wall’s final look.
Caulking for Clean Lines
Putting caulk on the edges of your molding is key for a sleek look. Get a good caulk gun and pick a caulk you can paint over. This lets you match it with your wall color. Begin with a small line of caulk where the molding touches the wall. You can make it smooth with a wet finger or a special tool. Let it dry well before you do anything else.
Painting Your Accent Wall
Picking the right paint color makes your accent wall pop. It’s smart to choose a color that looks good with the ones you already have. For a bold and uniform color, put on two coats of paint. Let each coat dry well to avoid marks. The amazing end result is worth every bit of your hard work.
By following these steps, you make sure your accent wall is even better than you imagined. Remember, those little touches make a big difference.
Maintenance Tips for Your Accent Wall
Keep your accent wall bright and welcoming with regular care. Good maintenance means your wall not only looks great but lasts long. Here are tips to keep your accent wall in top shape.
Repairing Minor Damage
Sometimes, your accent wall might get a little damaged. You can fix small issues with wood filler. After the filler dries, sand it until smooth. Then, paint over it with a matching color. This helps your wall stay looking new.
Keeping the Wall Clean
It’s important to keep your wall clean for it to look its best. Dust it gently with a soft cloth often. If it needs more cleaning, use a damp cloth. Stay away from strong cleaners to protect the wall. Following these steps will make your accent wall stand out beautifully.
| Task | Frequency | Tools Needed |
|---|---|---|
| Dusting | Weekly | Soft cloth or duster |
| Cleaning with Damp Cloth | Monthly | Damp cloth, mild detergent |
| Repairing Minor Damage | As Needed | Wood filler, sandpaper, touch-up paint |
Inspirational Ideas for Your Accent Wall
Accent walls offer limitless options! You can find inspiration in different design styles. This helps create a standout feature for any room. Whether you love sleek modern, rustic charm, or traditional elegance, there are many accent wall ideas. These ideas will change the look of your space.
Modern Designs
For a modern touch, think about geometric patterns with bold colors. Picture sharp angles and striking color contrasts. They bring out creativity and a modern vibe. These designs are great for making a statement. They keep the space lively and fun.
Rustic Styles
Rustic style accent walls use natural wood textures and earthy colors. You can use reclaimed wood or board-and-batten for these walls. They add warmth and character to your home. Combine these textures with neutral or deep colors for a stylish but cozy feel.
Traditional Looks
Traditional designs feature elements like crown molding or wainscoting. These classic finishes add elegance and work with many decor styles. Choose soft colors and refined trims. This makes your accent wall sophisticated and full of heritage.