ADVERTISEMENT
Did you know nearly 90% of homes and businesses in the U.S. rely on roof trusses? These frameworks are key to ensuring buildings are safe, stable, and look good. For anyone involved in building work, knowing about truss design is a must. We’ll cover the basics, important things to think about, and how different trusses affect your project’s success.
Key Takeaways
- Roof trusses significantly support roofs, allowing for larger spans compared to traditional framing.
- Understanding truss design is vital for safe and effective roof structure design.
- Different types of trusses can alter aesthetics and functionality in building design.
- Knowledge of materials and load calculations is key to successful truss design.
- Using a truss design guide can streamline the planning and construction process.
Understanding Roof Trusses
Roof trusses are key parts in modern building. They act as a roof’s main support. These frameworks are made of triangles that stabilize and support. Engineered wood is used most, making building easier.
What Are Roof Trusses?
Roof trusses are engineered to spread a roof’s weight well. They are easier to install than old methods. They use wood or metal and steel plates for a strong build. This makes roof work quicker and more efficient.
ADVERTISEMENT
Why Use Roof Trusses?
There are big wins when using roof trusses for building. They cut down on work time and boost a building’s strength. Highlights include:
- They’re set up fast, saving time and cash.
- They allow for big, open rooms without extra walls.
- They’re made consistently well in factories.
Many homes across the U.S. are built on different truss types. They’ve become more popular as they offer practical and strong solutions. Their role in new buildings and updates is growing.
Types of Roof Trusses
It’s important to know the different types of roof trusses for building right. Each building has its own needs, guiding which truss design is best. Let’s look at the common truss designs and where they fit.
Common Truss Designs
For smaller roofs, king post trusses are a favorite. They’re simple and fit well with homes. On the other hand, queen post trusses offer extra support for bigger roofs, perfect for larger areas. The Fink truss, with its X-shaped bracing, brings strength and flexibility, and is a go-to for many homes. Each design has a specific role, helping builders pick the right one for their projects.
Specialty Truss Applications
Some trusses meet special building needs. The Howe truss, mixing horizontal and vertical parts, offers unique advantages but is less common now. Trusses like the spandrel are tailored for certain architectural elements, inspiring creative designs. These specialty trusses show how versatile and useful truss systems are in today’s building projects.
| Truss Type | Key Features | Best Use Cases |
|---|---|---|
| King Post | Simple design, one vertical post | Small residential roofs |
| Queen Post | Two vertical posts, greater support | Larger roofs requiring more stability |
| Fink | X-shaped bracing, standard design | Residential buildings, attic spaces |
| Howe | Mix of vertical and horizontal members | Specialized architectural designs |
Key Components of Roof Trusses
To design and implement roof trusses well, knowing their key elements is a must. Each component is crucial for the truss’s structural support and stability. Together, these elements support loads and spread out forces evenly.
Top Chord and Bottom Chord
The top chord is at the top and carries the roof’s weight. Its design is critical for the structure’s integrity. It usually moves loads to the walls or columns. The bottom chord is key for supporting the ceiling. How the top and bottom chords work together greatly affects the structure.
Web Members and Load Distribution
Web members link the top and bottom chords, helping to spread out the load. Their design and placement are key for moving forces through the truss properly. Good load distribution makes sure all parts of the truss work together well. This helps the truss hold up both constant and varying weights over time.
| Component | Function | Importance |
|---|---|---|
| Top Chord | Supports the roof load | Critical for structural integrity |
| Bottom Chord | Holds the ceiling structure | Provides essential support |
| Web Members | Connects top and bottom chords | Facilitates load distribution |
Factors Influencing Truss Design
Designing roof trusses requires a deep insight into several vital points. Getting these aspects right improves a building’s strength and safety. Mainly, we look at load needs and the span or distance. Each plays a big role in the truss’s construction and use.
Load Requirements
Load requirements are crucial in designing roof trusses. They include:
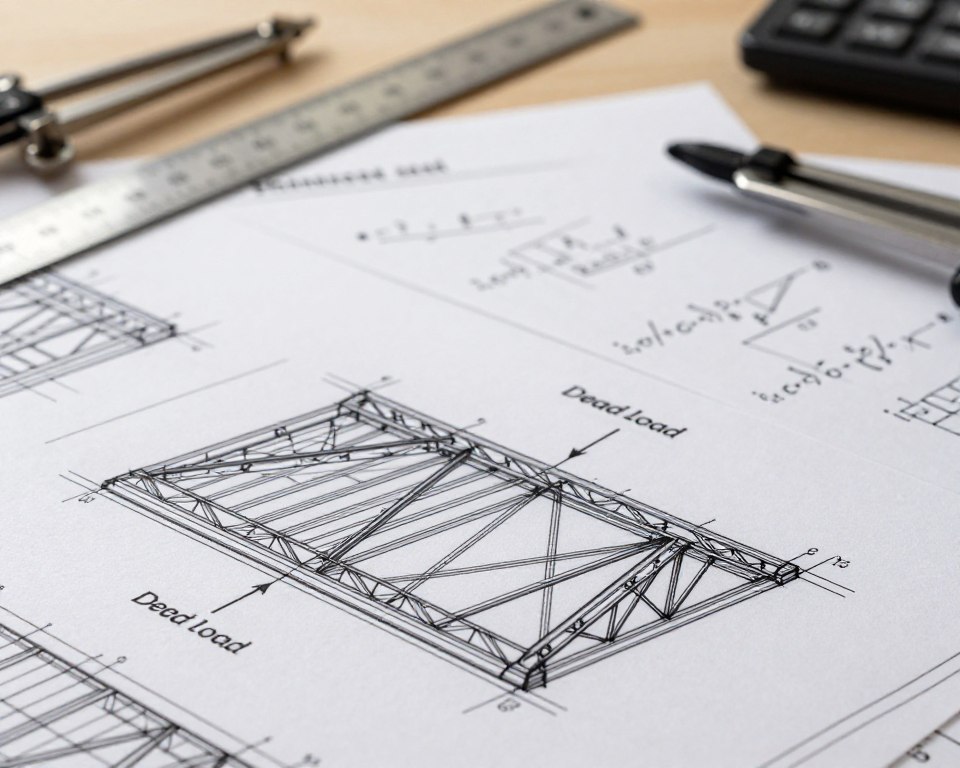
- Dead Load: This is the truss weight plus fixed things like roofing components.
- Live Load: This covers changing weights like people, furniture, or snow.
- Dynamic Load: These are changing forces from wind or earthquakes on the truss.
Knowing the right loads for trusses helps pick the best materials and shapes. This choice impacts how safe and long-lasting a structure will be.
Span and Distance Considerations
The truss’s span greatly affects its design. For longer spans, you might need tougher materials or special designs to carry the expected weights. Important points include:
- Support spacing.
- How weight spreads across the truss.
- Choosing materials based on span needs.
Understanding about span helps builders choose wisely, ensuring balance between performance and costs.
Materials Used in Roof Truss Construction
Choosing the right materials for a roof truss is key for great strength and performance. Timber and steel trusses are two popular choices. Each has its pros and cons, affecting the final choice based on what the building needs.
Timber vs. Steel Trusses
Timber trusses are loved for homes and small commercial builds for their beauty and eco-friendliness. They match many designs and are less harmful to the environment. Steel trusses, however, are stronger and perfect for big buildings and complex designs.
When comparing them, consider these points:
| Criteria | Timber Trusses | Steel Trusses |
|---|---|---|
| Weight | Generally lighter | Heavier |
| Cost | Lower initial cost | Higher initial cost, but may offer lower maintenance |
| Aesthetic | Natural look, can be stained or painted | Industrial look, often left unpainted typically |
| Durability | Susceptible to rot and pests | Highly durable and resistant to harsh conditions |
Composite Materials
Composite materials are becoming more common, mixing timber and steel’s best features. Engineered wood trusses in composite designs offer support and are lighter than solid timber. These materials handle loads well and boost efficiency.
They offer several advantages, like:
- Enhanced weight distribution
- Better resistance to environmental factors
- Reduced waste during construction
- Increased adaptability for various design styles
Load Calculations for Truss Design
Accurate load calculations are crucial for good truss design. There are two types: dead load and live load calculations. They ensure the building is strong and safe.
Dead Load vs. Live Load
Dead loads are the constant weights a structure holds. This includes the roof and the truss. Live loads change, depending on the weather or how many people are inside. It’s important to consider both types to avoid mistakes in design.
Importance of Load Paths
Understanding load paths is key for truss design. These paths show how forces move through a building. If analyzed wrong, the structure might fail.
Correct analysis of load distribution makes buildings safe and lasting. Thorough calculations are a must for reducing risk and boosting durability.
Design Software for Truss Engineering
Today’s architects and engineers often use advanced truss design software. This software helps them make and study roofing systems better. These tools are easy to use, powerful, and have many features designed for the best truss performance in different situations.
Popular Software Options
There are many truss design software programs out there, each with its own special features. Some of the top choices include:
- SkyCiv: This software is cloud-based, making it easy for users to work together and share their work.
- RISA Truss: It has strong tools for analyzing and designing various truss types.
- Autodesk Revit: This software works well with BIM processes and is great for complex projects.
- STAAD.Pro: It offers detailed analysis options for both civil and structural engineering.
Benefits of Using Design Tools
Using truss design software has many benefits that make designing faster and more efficient:
- Enhanced Accuracy: It greatly reduces mistakes thanks to automated calculations.
- Quick Revisions: It’s easy to update designs as project needs change.
- Load Condition Simulation: Simulating different loads helps find problems early on.
- Visualization: 3D modeling gives a clear view of the truss system, helping with decision-making.
By using these tools, engineers can create safer, more effective truss systems. The improvements from this technology are crucial for today’s structural design.
Building Codes and Truss Regulations
For anyone working with roof truss design and construction, knowing your local building codes is a must. These rules ensure that all structures, especially those with trusses, are safe and strong against local weather challenges.
Local Building Codes and Standards
Every area has its own building codes for trusses. They cover things like what materials to use and how much weight the trusses must hold. Getting to know these rules means your designs will be up to date and safe. This can lower the risk of your structure failing. Talking to local building officials can also give you extra info that might influence your work.
Importance of Compliance
Following the right truss regulations is key for the safety and success of any building project. Ignoring these codes can lead to lawsuits or more responsibility if something goes wrong. Sticking to the rules is good for everyone inside the building, too. By fully understanding what the codes require, you can avoid expensive errors when designing and building.
Installation of Roof Trusses
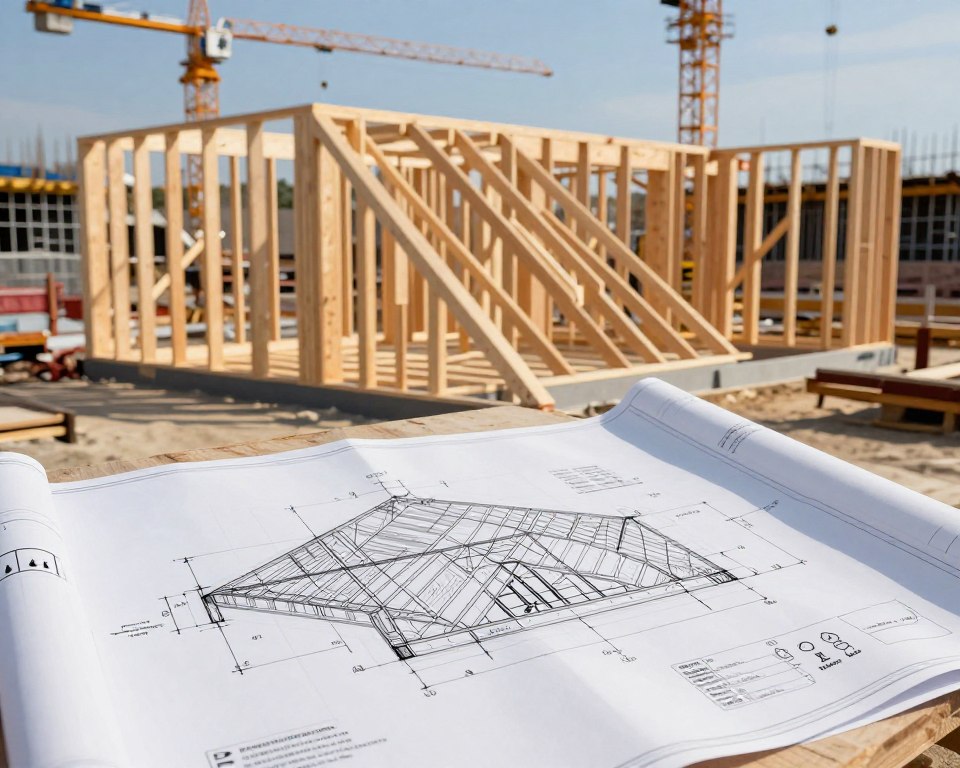
It’s vital to follow the right steps to get a sturdy and reliable roof. Before putting up roof trusses, you must prepare the site well. Make sure the base is flat and clear of anything that could get in the way. Knowing the steps for installation helps with doing the job quickly and safely.
Site Preparation Tips
Here are some tips for getting ready to install trusses:
- Make sure the foundation is level for even support.
- Remove any debris or objects that could block the installation.
- Have all your tools and equipment ready to prevent delays.
- Create a layout for placing each truss to make them easy to access.
Common Installation Mistakes
Knowing what mistakes to avoid makes for a better installation. Here are a few:
- Putting trusses too close or too far can cause structure problems.
- Not leveling trusses can lead to weak spots in the roof.
- Using the wrong method to secure trusses can weaken the roof.
Maintenance and Inspection of Roof Trusses
Keeping trusses in good shape is key for a safe and lasting home. By inspecting roof trusses regularly, you can spot issues early. This avoids big repair costs later. Homeowners must check their roofs often and know how to inspect them well.
Regular Inspection Guidelines
It’s wise to have a set plan for checking trusses. Do it twice a year— in spring and fall. These times are best because the weather is not too harsh. When inspecting, look for any damage, things out of place, or odd sounds. Early detection is crucial for keeping your house solid.
Signs of Damage to Watch For
Stay alert for any signs of damage to your trusses. Look for sagging, cracks, or splits in the trusses. Also, check for any material erosion. These signs mean you might need to act fast. Noticing these issues quickly can stop major damage. It keeps your home safe.