ADVERTISEMENT
Did you know 80% of Americans are stressed by clutter? With a pegboard organizer, you can turn mess into order. Making a DIY pegboard adds innovative storage and makes your spaces look good. It’s great for garages, work areas, or organizing crafts.
This easy setup can revolutionize how you keep things tidy. Let’s explore how it works.
Key Takeaways
- Pegboard organizers help bring order to cluttered spaces.
- DIY pegboards are easy to install and fully customizable.
- They serve as effective pegboard storage solutions for various items.
- Perfect for craft room organization, garages, and workspaces.
- Enhance aesthetics while maximizing functionality.
What is a Pegboard Organizer?
A pegboard organizer is great for saving space and keeping items handy. It has a grid of holes for hooks and accessories, perfect for organizing many things. They’re often put on walls to use space wisely, great for homes and workplaces.
ADVERTISEMENT
Definition and Purpose
A pegboard is a durable board you can hang on the wall. You can hang tools, supplies, and other stuff on it. It helps make space neater and keeps things organized. People who do crafts or want to tidy up like using it.
Benefits of Using a Pegboard
Pegboards offer many benefits for storage. Some top perks are:
- Maximized Wall Space: They make use of walls that would otherwise be empty.
- Customizable Layouts: You can change hooks and accessories to match what you need.
- Improved Accessibility: Things stay visible and easy to grab, saving you time.
- Versatile Applications: They’re great for holding tools in a garage or organizing crafts.
Materials Needed for Your Pegboard Project
To make your own pegboard organizer, you’ll need certain materials and tools. Knowing about different pegboards, installation tools, and extras can improve your project’s functionality. It can also make your space look better.
Types of Pegboards
Choosing the right pegboard is important. Here are the kinds you’ll find:
- Wood Pegboards: They are strong and look natural, making them great for cozy places.
- Metal Pegboards: These are tough and modern, good for workspaces or to add a contemporary flair.
- Hardboard Pegboards: A budget-friendly option, hardboard pegboards are fine for lighter items. They’re good for craftspeople.
Essential Tools for Installation
You need the correct tools for an easy pegboard project. Here’s what you should have:
- Drill: It’s needed for making starter holes and adding hardware.
- Level: This makes sure your pegboard hangs straight.
- Wood Screws: These fasten the pegboard securely to the wall.
- Saw: You’ll use this to cut the pegboard to the right size.
Optional Accessories for Customization
Add these extras to make your pegboard fit your exact needs:
- Hooks: They’re great for hanging tools and small items.
- Baskets: Use these for bulkier items or craft materials.
- Shelves: These provide more space and can support heavier things.
Choosing the right materials and tools is key for a successful pegboard setup. This allows you to customize your area neatly.
Choosing the Right Location for Your Pegboard
Think about where your pegboard will be most useful. Choosing to put it indoors or outdoors really changes how well it works. Knowing this helps you organize better and meet your needs.
Indoor vs. Outdoor Placement
Pegboards are great for inside use. They help organize tools, supplies for crafts, or stuff for the kitchen. They’re perfect for workspaces, places where you do hobbies, and kitchens. But, if you put one outside, it’s great for keeping garden tools or outdoor gear tidy. This makes more room in your garage or shed.
Considerations for Available Space
Look at how much wall space you have before you set it up. Seeing what space you’ve got helps you pick the right pegboard size. This makes sure it fits well and doesn’t get in the way.
How to Prepare the Wall for Pegboard Installation
Getting your wall ready for pegboard installation is key to a great setup. You need to measure carefully and make sure the wall can hold the pegboard and everything you’ll hang on it.
Measuring and Marking
Start by measuring the space on the wall for your pegboard. Then, mark where you’ll put screws, lining them up with the wall studs. This step makes sure your pegboard is strong and won’t have problems later.
Ensuring Wall Stability
It’s important to check if the wall is strong enough for your pegboard and its items. If it seems weak, you might need to strengthen that spot. Doing this keeps your pegboard stable and working well for a long time.
Step-by-Step Instructions for Installing a Pegboard
Starting to install pegboard might seem tough, but it’s pretty simple with these steps. You’ll learn how to put up the pegboard and easily add hooks.
Drilling and Securing the Pegboard
First, make sure your drill points are correct to attach the pegboard to the wall. Drill holes at these points, keeping them even. Then secure the pegboard with screws. It’s important to keep it level for a better look and use.
Adding Hooks and Accessories
Once the pegboard is up, it’s time for hooks. There are many types of hooks for different storage needs. Add baskets for small items or shelves for bigger tools. This makes your pegboard more useful.
Creative Ways to Organize Items on Your Pegboard
After installing your pegboard, it’s time for some creativity in organizing. You have endless possibilities for maximizing space and improving workflow with pegboard hooks and storage ideas. Let’s look at some inspiring ways to make your pegboard better.
Utilizing Hooks and Shelves
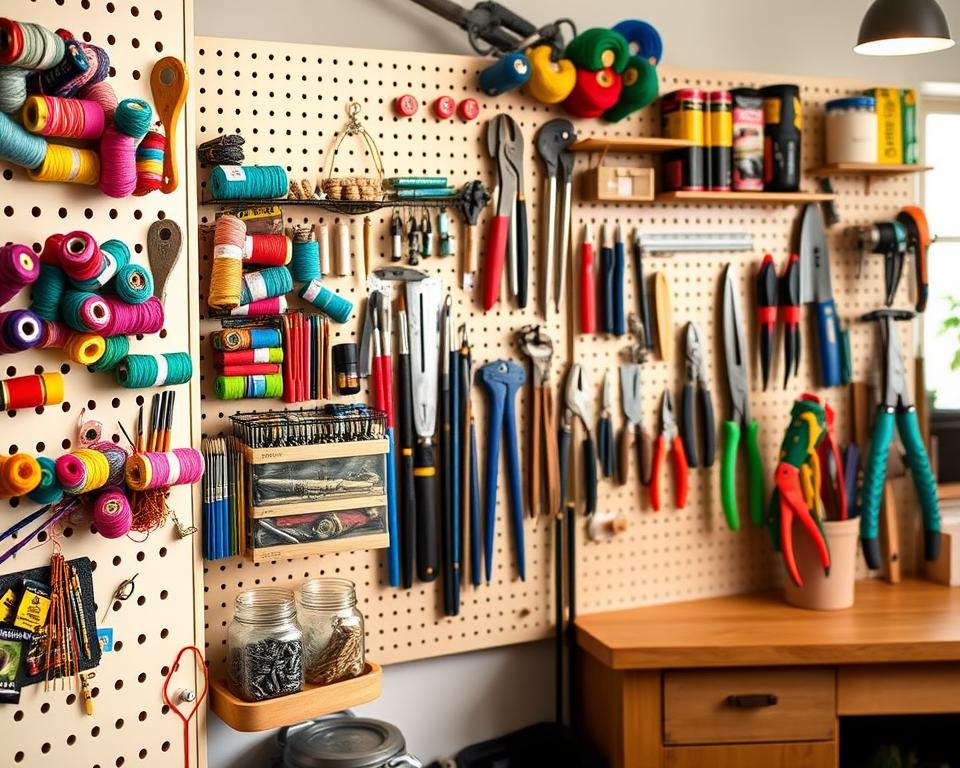
Pegboard hooks let you tailor your storage space. Try different hook sizes and setups to hold items like tools or arts and crafts securely. Adding shelves can help organize, giving a special spot for tools or items you use a lot. This approach makes it easy to see and grab what you need quickly.
Adding Baskets and Containers
Using baskets and containers boosts your organization. They let you group similar items together, making your pegboard neater. This method keeps things orderly and looks good, ideal for storing various items. Pick containers that fit your style, adding both function and beauty to your setup.
Painting and Finishing Your Pegboard
Painting your pegboard can really change how it looks. It also adds protection. When you pick the right paint and apply the best finish, your pegboard will look great and last long. There are several good paint options. Each one has its own benefits.
Best Types of Paint
Acrylic paints and spray paints are the best for pegboards. Acrylic paint keeps its color well and lasts a long time. It’s great for both inside and outside. Spray paint goes on smooth and is easy to use. Using high-quality paint means your pegboard can handle everyday use.
Techniques for a Professional Finish
For a pro look, put on many thin paint coats. Thick coats might drip or not dry right. Make sure each coat is dry before you add another one. To keep it from getting scratched, finish with a clear coat. These easy steps will make your painted pegboard look amazing in any room.
Personalizing Your Pegboard with Decorations
Decorating a pegboard lets you show off your creative side while making it more useful. You can use bright colors or art to make your pegboard stand out. Putting labels on your pegboard helps keep things organized, so you know where everything is.
Adding Art and Color
Adding color can make your pegboard look better. You might want to use trendy paints or art that shows your style. Using bright or soft colors can make your pegboard catch everyone’s eye, and it still helps keep things in order.
Try using paints with patterns or textures. This creates a special background that looks good with the items on your pegboard.
Using Stickers and Labels
Stickers and labels are great for making your pegboard your own and keeping it neat. They make it easy to see where everything goes. Pick designs or colors that match your room’s look.
Use them to mark where tools or crafts go on your pegboard. This makes it easier to use and looks cool too.
Common Mistakes to Avoid When Making a Pegboard Organizer
Making a pegboard organizer can be a fun DIY project. But knowing common slip-ups can make it better. Here are some usual mistakes people make and how to dodge them.
Planning Errors
Not planning well can mess up your pegboard project. Sometimes, there’s not enough room for your stuff or you waste materials. Before you start, think about what you need. Draw your ideas, measure your space, and plan how to use the pegboard. This way, you won’t have regrets later.
Installation Problems
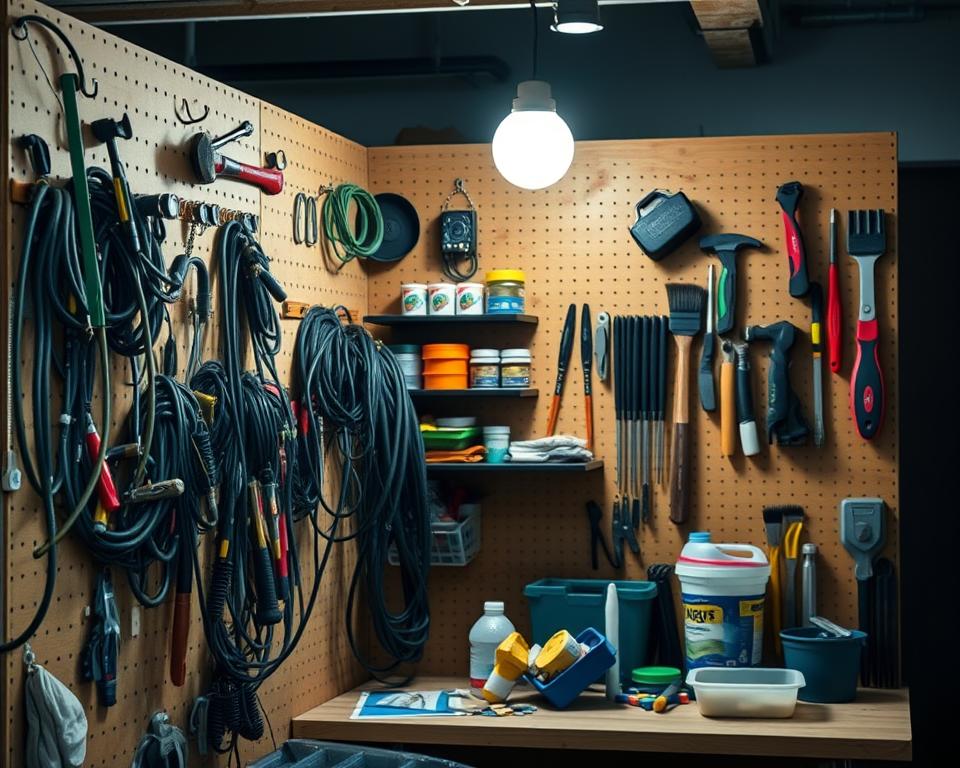
Installation issues can make your pegboard less useful. A big problem is not fixing the pegboard firmly, which affects how much it can hold. This could cause items to fall or break. To avoid this, make sure your pegboard is mounted strongly with the right anchors. Check if it’s stable after putting it up. A good install means a better organization system.
| Mistake Type | Description | Solution |
|---|---|---|
| Planning Errors | Inadequate space and wasted materials | Outline requirements; measure space |
| Installation Problems | Poor weight distribution and instability | Use proper anchors; check stability |
Maintenance Tips for Your Pegboard Organizer
A pegboard storage system boosts efficiency, looks, and function. Regular care is crucial for its effective use. Follow these key tips to keep your pegboard looking and working great.
Cleaning and Upkeep
Regular cleaning is key for pegboard care. Remove dust and dirt with a soft cloth or duster. This keeps your pegboard looking sharp. Also, during cleaning, tighten any loose screws or accessories to keep it sturdy. A clean pegboard not only looks good but lasts longer too.
Regularly Assessing Your Organization Needs
Your storage needs can change over time. It’s important to review your pegboard setup every few months. This helps you see if it still fits your organizational needs. Adjusting your pegboard setup encourages efficiency and creativity, keeping it useful as your needs change.
| Maintenance Task | Frequency | Importance |
|---|---|---|
| Dusting and Cleaning | Monthly | Enhances appearance and prevents damage |
| Tightening Screws | Quarterly | Ensures stability and safety |
| Reviewing Items | Every 3-6 Months | Optimizes organization and efficiency |
| Rearranging Hooks and Accessories | As Needed | Accommodates changing needs and preferences |
DIY Pegboard Organizer Ideas for Various Spaces
Looking for new ways to use pegboards? We have some great pegboard ideas for your office, garage, and craft room. They can make your space neat and organized.
Home Office Solutions
Pegboards are great in a home office to keep things organized. They hold stationery, art supplies, and important papers. This clears your desk and makes items easy to find, helping you work better.
Garage Organization Hacks
Garage pegboard hacks can change how you organize your tools. A pegboard makes it easy to see and reach tools like wrenches and screwdrivers. Using different colored hooks makes it look nice, too.
Craft Room Inspirations
It’s hard for crafters to keep supplies in order. Craft room pegboards can hold all your supplies, from scissors to fabric. This turns a messy craft area into a tidy and inspiring space.
| Space | Pegboard Ideas | Benefits |
|---|---|---|
| Home Office | Display stationery and documents | Enhances organization and accessibility |
| Garage | Store tools and equipment | Improves efficiency and saves time |
| Craft Room | Hold crafting supplies | Promotes a clutter-free work area |
Conclusion: Unlock Your Space’s Potential with Pegboards
Pegboards aren’t just plain panels; they’re a game-changer for staying organized. They’re so adaptable you can fit them into any room, like your office, garage, or craft area. Pegboard organizers help you keep everything in place and easy to find.
It’s the perfect time to get creative with pegboards. They’re not just for decluttering but also make your space uniquely yours. You can find tons of ideas to make a pegboard system that reflects your style and needs.
Ready to start your DIY pegboard project? Plan out your design and jump in. It’s more than just cleaning up—it’s about making an area that’s truly yours. Start now and see how pegboards can change your space!