ADVERTISEMENT
Did you know the average American sits at a desk for over 8 hours daily? With more people working from home, a good workspace is essential. A DIY floating desk can free up floor space and add a personal touch. Whether for work or study, a floating desk makes any room better for focusing. This guide shows you how to make a floating desk that fits your style and needs. It’s a great way to improve any space.
Key Takeaways
- A floating desk saves space and offers a modern aesthetic.
- It’s a customizable solution for small homes or offices.
- Tools and materials can be sourced easily for your floating desk DIY.
- The desk can be designed to fit specific organizational needs.
- It offers a unique opportunity for a DIY home improvement project.
Why Choose a Floating Desk?
Floating desks are not only stylish but also functional, perfect for any home or office. They offer ample workspace without taking up much room. Here’s why a floating desk could be a great addition to your space.
Maximizes Space Efficiency
Floating desks are great for making the most of your space. They allow you to free up floor area, making the room feel larger. This is especially handy in small spaces where every inch is important. Plus, some come with built-in storage, meaning you get a workspace that doesn’t sacrifice storage.
ADVERTISEMENT
Adds Modern Aesthetic
A floating desk can give any room a modern, sleek look. Its simple design fits well with contemporary decor. By choosing a floating desk, your space becomes both stylish and functional. It turns any area into a neat workstation without clutter.
Encourages Organization
Choosing a floating desk can help keep your space tidy. Many have shelves or cabinets built in, offering easy-to-reach storage. This setup helps you keep your workspace clear while keeping everything you need close by. With smart storage solutions, a floating desk can enhance both your focus and creativity.
Materials Needed for Your Floating Desk
Creating a floating desk is a fun task that needs certain materials and tools. By following steps from a simple tutorial, the process becomes easier. This ensures your desk is both strong and works well. Make sure to collect all the tools and supplies you need for this DIY task.
Essential Tools and Supplies
Before starting your floating desk, gather the following tools and supplies:
- Plywood
- 2×4 lumber
- Screws
- Wood glue
- Stud finder
- Drill and drill bits
- Saw (circular or miter)
- Measuring tape
- Sandpaper
Wood Selection for Durability
It’s key to pick the right wood for your desk. Choose strong woods like birch or pine to make it look good and last long. Good wood choice means your desk will hold up well with regular use.
Finishing Touches: Stains and Paints
After putting your desk together, it’s time for the finishing touches. Check out different stains and paints to fit your style. This step lets you add your personal touch, picking colors that go with your room. The right finish also protects your desk, making it last longer.
https://www.youtube.com/watch?v=jh6JWKsCE2c
Step-by-Step Guide to Building Your Floating Desk
Starting a floating desk DIY is thrilling. Planning before you start is key. First, measure the space to know how big your desk should be. This early step is the base for everything that follows.
Initial Measurements and Planning
Measure the wall where the desk will go. Write down the height and width to make sure the desk fits just right. Think about how much space you need to work and what you’ll put on the desk. A simple sketch helps imagine your finished desk.
Cutting the Wood
With your measurements ready, pick out your materials and start cutting the wood. A miter saw will make your cuts precise and clean. It’s important to cut the pieces correctly to ensure your desk looks good and stands firm. Take your time here to get each piece just right.
Assembling the Desk
Now, with the wood cut, you can put your desk together. Begin by fixing supports to the wall studs for a solid foundation. Use the right anchors and screws so your desk stays up and can hold weight safely. After the supports are secure, attach the desk top tightly. This is when you see your project really start to look like a desk.
Choosing the Right Wall Mounts
When setting up a floating desk, picking the right wall mounts is key. They not only hold up the desk but also keep it firmly in place. With so many types of mounts available, it’s important to select the right one for your needs.
Different Types of Wall Brackets
Different wall bracket options are there to consider. Let’s look at some popular ones:
- Standard Brackets: Best for lighter setups, fit for small desktops.
- Heavy-Duty Brackets: Provide strong support, perfect for bigger desks.
- Floating Brackets: Hide mounting hardware, offering a sleek look.
- Adjustable Brackets: Allow height changes, suitable for various needs.
Installation Tips for Stability
To ensure your desk stays stable, follow these installation tips. Make sure to fix the mounts into wall studs, not just drywall. A stud finder can locate the best spots for this. Also, check that the brackets are level before securing them.
Load-Bearing Considerations
It’s crucial to consider how much weight your mounts can support. Floating desks need to hold up computers, books, and more. Pick wall brackets that can carry your desk’s load. Always check the manufacturer’s weight limits and adjust as needed.
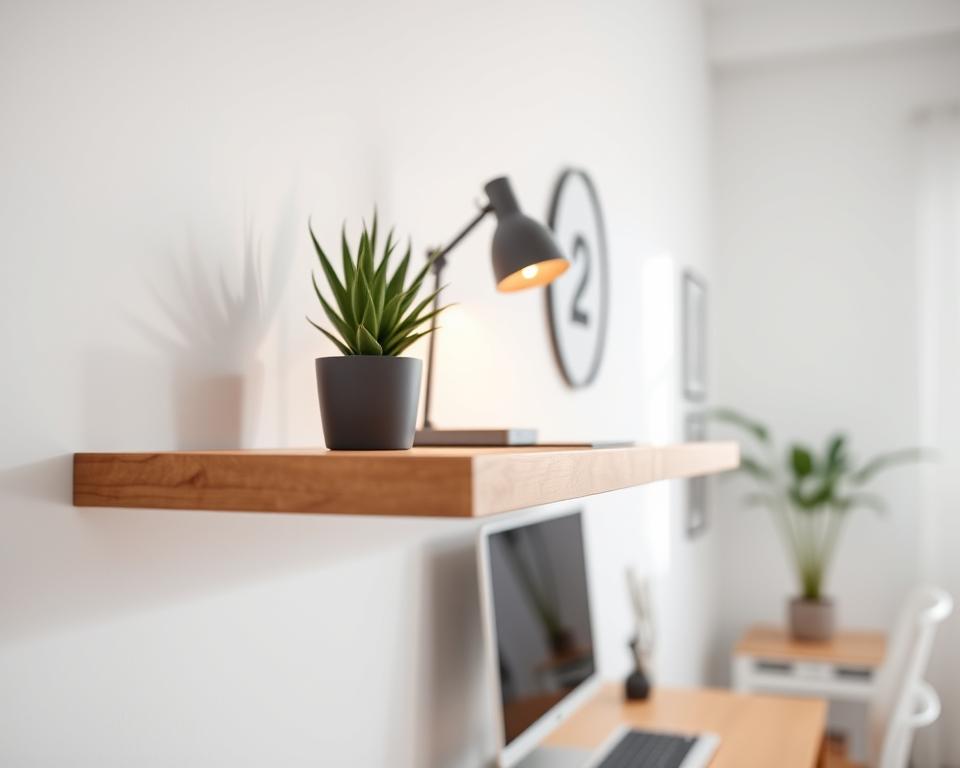
| Type of Bracket | Weight Capacity | Best Use Case |
|---|---|---|
| Standard Brackets | Up to 50 lbs | Lightweight desks |
| Heavy-Duty Brackets | Up to 200 lbs | Large desktops |
| Floating Brackets | Varies by design | Minimalist aesthetics |
| Adjustable Brackets | Up to 150 lbs | Customizable setups |
Design Ideas for Your Floating Desk
Looking into floating desk design ideas can really spark your creativity and improve function. A minimalist floating desk is great for small areas because it’s simple and has clean lines. On the other hand, an industrial look mixes wood and metal, adding cool edge to your space. Adding smart storage also boosts both the look and usefulness.
Minimalist Style
A minimalist floating desk is all about clean lines and being practical. It usually has a smooth surface and minimal hardware, making the area feel open. Use natural finishes or light colors to make the room brighter and less cluttered.
Industrial Look
Industrial style gives your space a distinct vibe. It uses materials like reclaimed wood and metal for a bold contrast. Adding open shelves by the desk offers handy storage for your stuff, matching the tough look.
Creative Storage Solutions
Adding clever storage to a floating desk can really boost how useful it is. Think about putting shelves above or below the desk. Hooks or pegboards can help keep things tidy and free from clutter. This not only frees up space but also makes your work area feel more personal.
Safety Precautions During Installation
Keeping safe is key during your floating desk DIY. You need to take precautions to make a safe work area. Use the correct tools and supplies to avoid accidents and make sure the setup goes smoothly.
Using Proper Tools
It’s important to have the right tools when putting up your floating desk. This means power drills, screwdrivers, and a level are needed. Having these tools makes the job safer and faster. Always follow the manufacturer’s instructions for any tool you use. This makes sure your floating desk DIY is done safely and well.
Ensuring Wall Integrity
Before you start, check if the wall is strong enough. The type of wall you have matters for how you’ll install the desk. Solid walls can hold more weight than hollow ones. Checking the wall helps you find the right way to hang your desk safely.
Personal Safety Measures
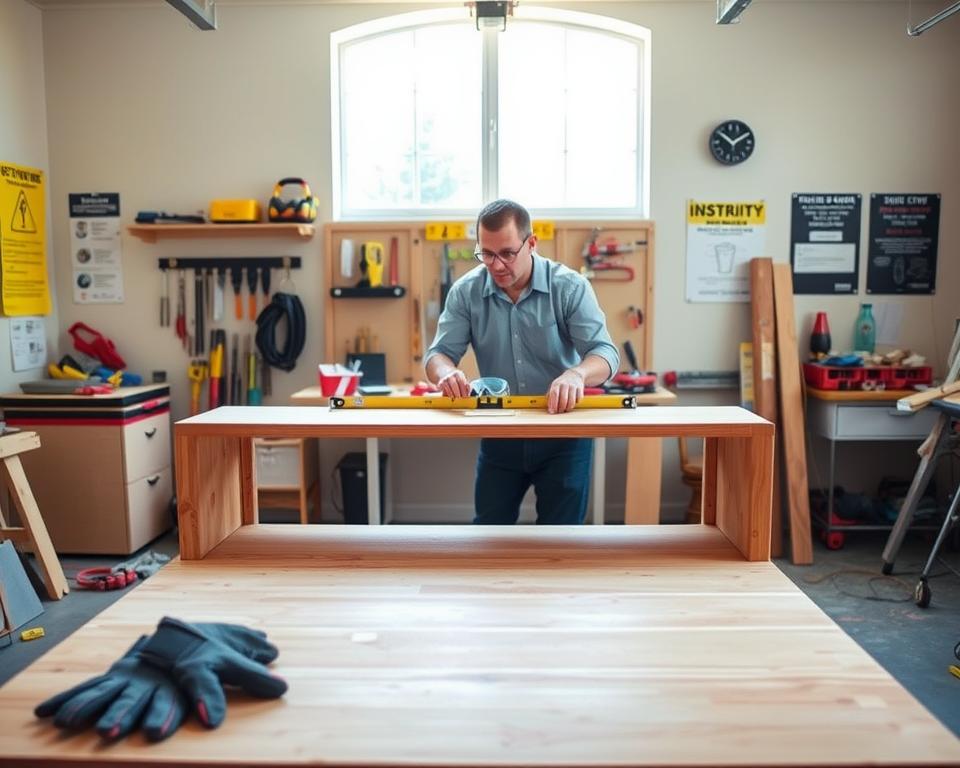
Always think about your safety when you’re working. Wear gloves and goggles to avoid getting hurt. Also, keep your work area free from things that could cause you to trip or fall. These steps will help make a safe and efficient workplace for your DIY project.
Customizing Your Floating Desk
Customizing turns your homemade floating desk into a special spot. Built-in features boost how it functions. Decorative touches show off your style, making the space welcoming.
Adding Built-in Features
Adding built-in features makes your desk more useful. Think about including a way to manage cables to keep things tidy. Shelves or drawers add more storage and are easy to reach. These add-ons mean your desk looks good and works well.
Personalizing with Decor
Decor is key to a workspace that’s all yours. Pick things that make you happy, like photos, quotes, or art that shows who you are. Adding plants can bring in nature and freshen the air. This way, your desk becomes a place you enjoy being.
Lighting Options
Good lighting is important for both work and looks. Lights under shelves light up your space without taking up room. A stylish lamp can make your desk feel cozy, especially if you work late. Choose lights that match your style to make your desk better.
| Customization Feature | Purpose | Example |
|---|---|---|
| Cable Management | Organizes cords | Built-in cable box |
| Decorative Elements | Personalizes space | Framed pictures |
| Under-shelf Lights | Enhances visibility | LED strip lights |
| Storage Solutions | Maximizes function | Drawer units |
Troubleshooting Common Issues
Building your own floating desk can be rewarding, but knowing how to tackle common challenges is crucial. This focus is on resolving issues with your floating desk plans for a great workspace. Here, you’ll learn about typical problems and easy solutions.
Uneven Desk Surface
An uneven surface can slow you down. To fix this, add leveling feet or shims under the desk. This evens out the surface, making your workspace better for everything you do. Always check this part of your desk to keep it perfect.
Instability Concerns
If your desk wobbles or feels weak, it’s important to strengthen your wall mounts. Make sure they’re tight and the fasteners are right for your wall. Adding more mounts can make your desk more stable and secure. Quick action keeps your floating desk strong.
Making Adjustments
Being open to changes in your design can improve its function. If you need adjustments after setting up, don’t hesitate to make them. This could mean moving things around or swapping out parts to better your work area. Keeping track of changes can also help others with their floating desk projects.
Maintaining Your Floating Desk
To keep your floating desk looking good, it’s important to take care of it. Checking it often for damage will help catch small issues early. This simple guide on floating desks shows why taking care of your desk matters. It also offers useful tips to keep your work area looking great and working well.
Regular Checks for Damage
It’s crucial to frequently inspect your floating desk. Look out for things like loose screws or cracks in the wood. Small problems can grow into big ones if they’re not fixed right away.
Cleaning and Upkeep Tips
Cleaning your desk makes it look better and last longer. Use a gentle cloth for dusting, and stay away from strong cleaners. Natural options like vinegar or a gentle soap and water work well and are safe for the wood.
Repainting or Refinishing
Updating your desk’s look with paint or finish every few years is a good idea. It allows you to change styles and protects the desk. Repainting is easy and boosts both the looks and life of your desk.
Final Thoughts on Your Floating Desk DIY Project
Finishing your floating desk DIY isn’t just about building it. It’s also about making your home better and getting more done. Every step has helped make a cool and useful addition. Enjoy feeling proud of making your idea real. Love looking at your new workspace’s smart design and its good effects.
Celebrating Your Accomplishment
You’ve put in a lot of effort to make your floating desk a reality. Now, it’s time to celebrate what you’ve done. No matter if your space is simple or full of clever storage, it shows your hard work. Feel free to tell others about what you did; it might motivate them to try too.
Share Your Experience!
Joining a group of DIY fans can make your project even cooler. Show off your finished desk online or with local groups. This encourages others to share their projects too. Offer advice and talk about what designs worked for you. This helps build a community that loves making their homes better.
Next Steps in Home Improvement
With your floating desk done, think about your next home project. Maybe organize your office, refresh your decorations, or add more storage. Keeping your space changing helps it meet your needs better. It also stirs up new ideas and keeps you active and productive.