ADVERTISEMENT
Did you know American families waste about 55 minutes daily searching for things they can’t find? A DIY storage bench not only looks good but also helps keep things tidy. It offers a clever way to organize your stuff. In this guide, we’ll show you how to make a storage bench. It will fit perfectly in your space and show off your personal style. Plus, it’ll be super functional. Let’s get creative and start building a storage solution made by you!
Key Takeaways
- A storage bench can save time by organizing belongings effectively.
- Building your own storage bench allows for personalization and creativity.
- Follow a step-by-step process for a successful DIY project.
- Choosing the right materials ensures durability and style.
- Accessories such as cushions can enhance the bench’s comfort and look.
- Proper maintenance prolongs the lifespan of your storage bench.
What is a Storage Bench?
A storage bench is more than just a seat. It combines seating with a place to tuck away items. This furniture piece is key for many homes. It hides clutter, making spaces neat and tidy with its smart design.
Definition and Purpose
A storage bench gives you a cozy spot to sit and handy storage. Inside, it’s roomy enough for blankets, shoes, toys, or anything else. Many people love these for how they add to a room’s look and organization.
ADVERTISEMENT
Typical Uses in Home Decor
Storage benches are great in many spots around the house. They’re super useful for:
- Entryways: Perfect for storing shoes and providing a place to sit while putting them on.
- Living Rooms: Acts as a stylish coffee table while hiding away remotes or magazines.
- Mudrooms: Keeps outdoor gear organized and off the floor.
- Outdoor Areas: Offers seating while providing a space to store cushions or garden tools.
Smart design plans make storage benches valuable for homeowners. They blend convenience with style, fitting right into your lifestyle.
Materials Needed for Your DIY Storage Bench
For a sturdy and stylish DIY storage bench, it’s important to pick the right materials. These choices boost durability and how well it works. Here’s what you need to think about when picking parts for your storage bench.
Wood Types for Durability
Choosing the right wood is key for lasting use. Here are some popular choices:
- Moisture-resistant MDF: It’s affordable and great for painting.
- Plywood: Strong and stable, perfect for big benches.
- Softwoods: Like pine and cedar, they’re light and easy to shape but might need extra finish.
- Hardwoods: Woods like oak or maple last long but cost more.
Additional Hardware and Tools
You’ll also need certain hardware and tools for a successful project. Make sure you have:
- Screws: To put parts of the bench together.
- Hinges: Needed if your bench will have a lid for storage.
- Brackets: They add support, especially for large benches.
- Drill and saw: Basic tools for putting it all together.
- Measuring tape: For precise measurements during your project.
Finishing Supplies
The finishing touches are crucial for looks and protection. Consider getting:
- Paint or stain: Pick colors that match your decor and protect against damage.
- Sealer: It helps to protect the wood from moisture and makes it last longer.
- Sanding paper: Essential for a smooth surface before you add any paint or stain.
Choosing the right materials ensures your storage bench looks good and lasts long. Looking at different DIY storage bench ideas can spark your creativity and let you customize your piece.
Designing the Perfect Storage Bench
Making a personalized storage bench can make any room look better and more practical. First, know the space you have and how the bench will match your decor. Choosing the right size is crucial for a perfect fit. Think about the height, width, and depth to get it just right.
Size and Dimensions Considerations
When making a storage bench, measuring the space is very important. Keep in mind the spot where you’ll put the bench. Here’s what to think about:
- Height: For comfy seating, keep it between 18-20 inches high.
- Width and Depth: Pick sizes that fit well without crowding the room. Usually, 16-20 inches deep works.
- Proportions: Choose a size that looks good with the rest of your furniture.
Style Options to Match Your Decor
Picking the right style can turn your storage bench into a focal point. There are many styles to show off your taste. Consider these popular ones:
- Modern: Simple designs and clean lines are great for a modern look.
- Rustic: For a warm, cozy vibe, go for natural wood, perfect for cabins or farmhouses.
- Traditional: If your home has an old-school charm, classic designs are the way to go.
Sketching Your Design Ideas
Before you start building, sketch your design. Drawing helps you see what the bench will look like when it’s done. You can draw on graph paper for exact measurements or try out design apps. Think about these things in your drawings:
- Color scheme: Pick colors that go well with your room.
- Functional layout: Make sure the storage is easy to access and sitting is comfortable.
- Finishing touches: Consider adding cushions or decorations.
Step-by-Step Instructions for Building
Building your own storage bench is a fulfilling project. Following this straightforward tutorial, you will move through each step with ease. First, get your materials and tools ready.
Preparing the Wood
Carefully measure and cut your wood according to the plans. It’s important to make sure every cut is precise. After cutting, sand down the edges for safety and comfort. This step ensures your bench starts with a strong foundation.
Assembling the Bench Frame
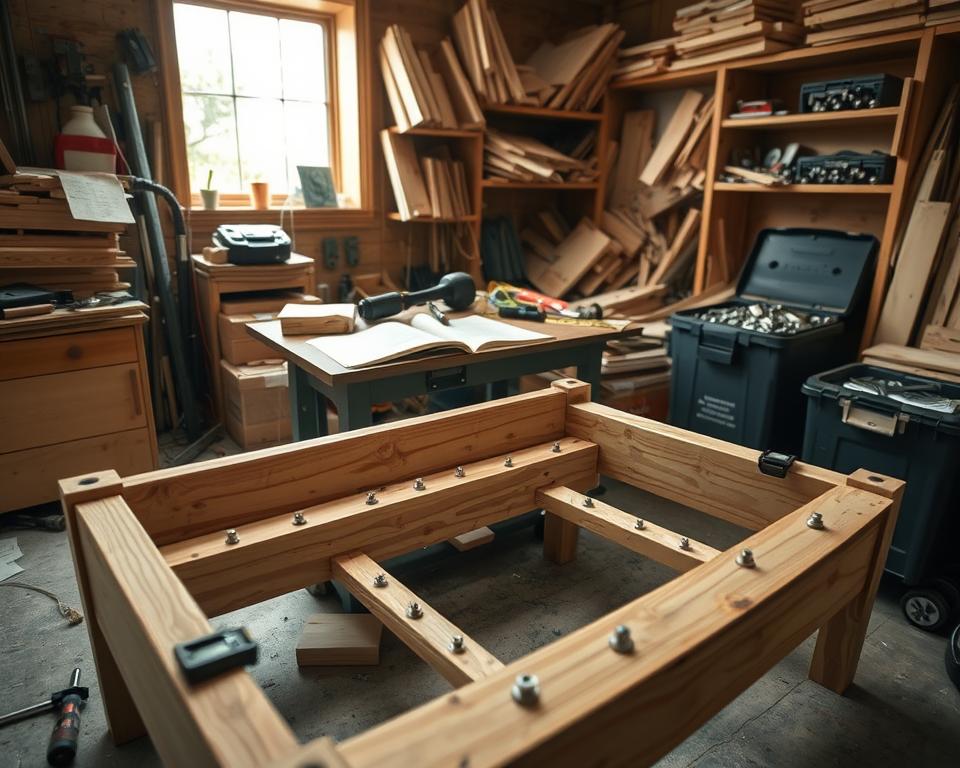
Now, put together the bench frame by connecting the sides to the base. Apply wood glue for a durable bond, and reinforce with screws for extra hold. Ensure everything lines up right before the glue sets. The strength of your bench depends on this step.
Attaching the Lid and Hinges
The final step is adding the lid and hinges. Install the hinges inside the bench so the lid works smoothly. Check that all parts line up to avoid any issues when using it. Paying attention here means your bench will work well.
Painting and Staining Your Storage Bench
Choosing the right color for your storage bench can change your room’s vibe. The color should match your home decor well. Think about colors that blend nicely with what you already have.
Choosing the Right Color
For a DIY storage bench, pick colors that show your style and fit the room. Neutrals are versatile, but bold colors add personality. Always test the color in a small spot to see how it looks with the light.
Techniques for a Professional Finish
Getting a sleek finish requires using the right techniques. An HVLP sprayer makes the coat smooth and brush-free. Or, a foam roller can work well for an even finish. Apply several thin coats instead of one thick one to avoid drips and get a nice finish.
Tips for Applying Paint or Stain
Start with a clean, sanded surface for painting or staining your bench. Choose the best products for the job. Use a primer if you’re painting to need fewer coats. Let it dry thoroughly for a long-lasting finish.
Adding Cushions for Comfort
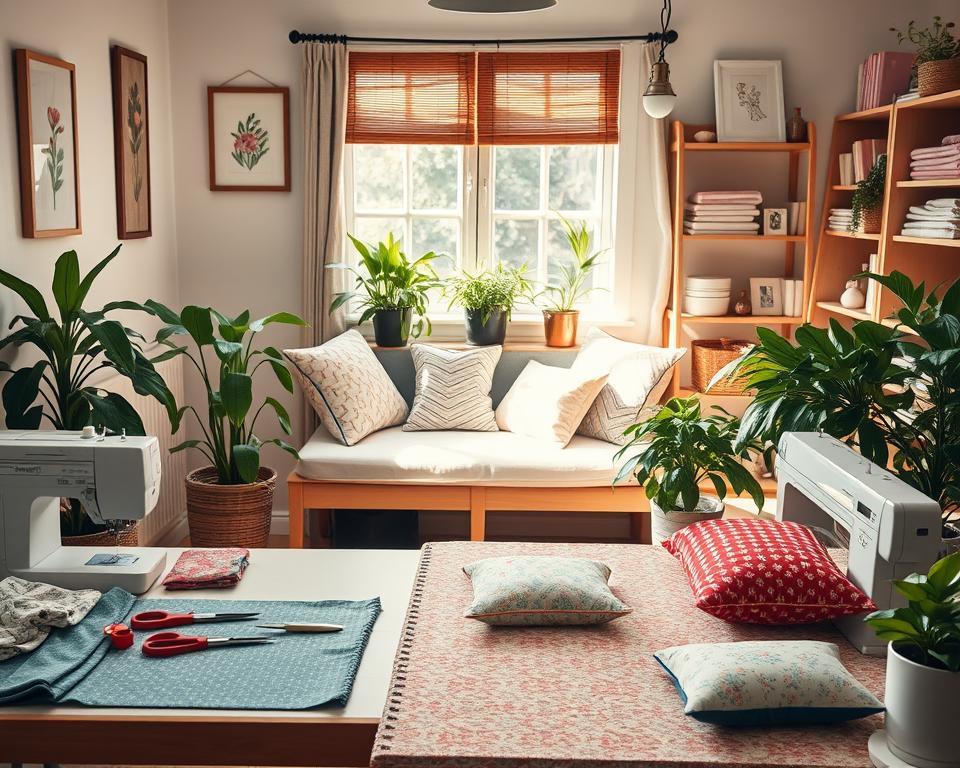
Adding cushions to your storage bench mixes comfort with beauty. It’s important to pick the right fabric for these cushions. Good choices are durable, easy-to-clean materials that match your decor.
Selecting the Right Fabric
When making cushions yourself, picking the right fabric is crucial. Fabrics like canvas, vinyl, or strong upholstery textiles are best. They are tough and last a long time. Remember, some fabrics need special care to keep them looking good.
DIY Cushion Making Tips
Making cushions for a storage bench is a fun project. First, accurately measure your bench’s seat. Then, buy high-density foam and cut it to your measurements.
Cover the foam with your chosen fabric and secure it well. This easy step boosts both comfort and style, making your bench more inviting.
Bringing Functionality to Your Storage Bench
Make your storage bench work harder by organizing it well. Start by sorting your items and using bins for small things. This makes your bench look neat and keeps everything easy to find.
Organizing Tips for Maximal Storage
- Group similar items together for easy access.
- Label bins to enhance clarity and organization.
- Consider seasonal storage for items used less frequently.
- Make use of vertical space within the storage area.
Creative Uses Beyond Storage
A storage bench can be more than a place to hide things. It can be a comfy spot in a reading corner, a toy box, or a chic mudroom organizer for shoes and bags. These ideas help you get the most out of your bench while making your home look great.
Customization Ideas for Your Bench
Customizing your storage bench opens a door to endless creativity. It lets you create a piece that shows your style. By adding decorative touches, you improve its use and make your room look better.
Adding Decorative Elements
Think about adding molding or trim for a refined appearance. Your choice can be a simple modern style or something more detailed. Decorative hardware, like special knobs or handles, can make your bench stand out.
Personalizing with Stencils or Decals
Using stencils or decals is a simple way to show your personal style on your storage bench. Pick patterns or images that you like. A cool decal can make your bench more than just seating; it turns it into a key part of your decor.
Common Mistakes to Avoid
DIY fans often run into problems with their projects. Knowing common DIY errors can greatly improve your build’s end result. When making a storage bench, paying close attention and planning well is crucial. Recognizing these pitfalls helps make the assembly process more successful.
What Not to Do During Assembly
One big mistake many make is measuring wrong. Always measure twice and cut once to keep your project accurate. Another mistake is not using the right materials. Picking poor quality wood, screws, or leaving out wood glue makes for a fragile bench. Choosing top-notch materials is key for a lasting and functional piece.
Overcoming Construction Hurdles
Aside from measuring accurately, builders often find aligning pieces tough. Tips like pre-drilling holes and using clamps help keep everything in place. Checking out guides on building a storage bench can prevent many common problems. This approach can save you both time and frustration.
| Mistake | Consequence | Solution |
|---|---|---|
| Improper Measurements | Ill-fitting structure | Measure accurately and confirm before cutting |
| Poor Material Choices | Unstable bench | Select high-quality wood and hardware |
| Neglecting to Secure Components | Weak joints | Use wood glue and screws consistently |
| Skipping Support Structures | Risk of collapse | Add internal supports for strength |
Enhancing Aesthetic Appeal
Adding beauty to storage benches makes them more than just functional. They become charming centerpiece in any room. By using accent pieces in DIY projects, you give a personal touch that matches your home’s style.
Incorporating Accent Pieces
To give your bench a boost, think about using different accent pieces. Throw pillows with bright colors or special patterns can make it welcoming and cozy. Decorative trays not only help organize things but also add elegance. Pick items that reflect your personal taste, like rustic, modern, or mixed styles.
Styling Your Bench with Decor
Decorating your bench thoughtfully ties your room together. Add small plants for a hint of life without cluttering the space. Place stacks of books or decorative storage items to add layers of interest. Using both storage and decor turns your bench into a key feature of your home.
Maintenance Tips for Longevity
Keeping your storage bench looking good requires regular care. Right upkeep not only makes it look better but also lasts longer. Simple steps are key for its beauty and use.
Regular Cleaning Practices
Having a cleaning routine stops dust buildup and keeps the bench looking nice. Wipe it daily with a soft, damp cloth. Quickly take care of any spills. Use a gentle cleaner for a deeper clean, but avoid strong chemicals that could harm the wood or paint.
Caring for Stained or Painted Surfaces
It’s important to keep painted areas looking good for a long time. Clean these parts with mild soap and water, avoiding rough materials. Regularly check the bench for wear, chips, or moisture. Quick fixes with paint or stain can make it look new again.
| Cleaning Method | Recommended Frequency | Considerations |
|---|---|---|
| Dust with a soft cloth | Weekly | Avoid using dirty fabrics |
| Deep clean with gentle cleanser | Monthly | Test on a small area first |
| Inspect for wear and moisture | Bi-weekly | Look for cracks or blistering paint |
| Touch up paint/stain | As needed | Always match the color |
Conclusion: Enjoy Your New Storage Bench
As you wrap up your DIY storage bench project, take a moment to appreciate what you’ve made. This project makes your living area better by giving you extra storage and a comfy place to sit. Think about the new skills you’ve learned and the joy of making something that’s all yours.
Final Thoughts
Your new DIY storage bench will definitely be a standout piece in your home. It’s not just any furniture; it’s a sign of your creativity and effort. Enjoy how it makes your space better, more organized, and stylish.
Encouragement to Share Your Projects
Don’t forget to share your projects! Showing off your finished DIY storage bench can inspire others. Whether it’s in your community or online, sharing helps you connect with other DIY lovers. It boosts your confidence and helps you make new friends. So, snap a picture and share your creation with the world!