ADVERTISEMENT
Did you know that keeping your tools organized can make you 25% more efficient? If you are fed up with searching in messy drawers or crowded benches, making your own tool wall organizer is a great answer. This guide will help you build a tool organizer right at home. It will change your space with smart garage tool storage ideas. These ideas not only save time but also boost how well you work. With some basic tools and creativity, you can create a tool wall organizer that fits your needs perfectly.
Key Takeaways
- A well-organized tool wall can boost efficiency significantly.
- Creating a homemade tool organizer maximizes garage storage.
- Having a designated space for tools enhances productivity.
- Customizable designs allow for personal touches.
- Proper organization minimizes clutter for a smoother workflow.
What is a Tool Wall Organizer?
A tool wall organizer is a smart way to keep tools in order, hanging on the wall. It helps save floor space, making your work area larger and easier to use. By organizing tools well, you can work better and get more done.
Definition and Purpose
Its main aim is to keep your space tidy with all tools in sight. It uses wall space wisely, so you don’t have to search in drawers. This way, you can find and grab tools quickly, making DIY tasks smoother.
ADVERTISEMENT
Benefits of Using a Tool Wall Organizer
Choosing a wall organizer for tools brings many benefits:
- Improved visibility of tools, enabling quick identification.
- Simplified search process saves time, especially during busy projects.
- Reduced clutter leads to a more organized workspace, enhancing focus.
- Customization options cater to individual needs and preferences.
Using a tool wall organizer makes your workspace better and sparks creativity and efficiency. It’s great for anyone into DIY, helping you handle tools like a pro.
Essential Tools Needed for Your DIY Project
When you start to build your own tool organizer, the right tools are key. You’ll need different tools for various parts of the project. They help with both putting it together and adding the final touches, making your work look great.
Basic Tools for Assembly
To start your DIY project, you need basic tools. These tools make building things easier. You’ll need:
- Drill: Provides power to create holes for screws.
- Screwdrivers: A range of sizes helps in fastening components securely.
- Saw: Ideal for cutting wood to the right size.
Specialized Tools for Finishing Touches
Special tools can make your tool organizer look neat and work well. Consider using these tools:
- Bandsaw: Perfect for making intricate cuts and curves.
- Pocket hole jig: Aids in creating strong joints for a sturdy framework.
With the right tools, making a tool organizer can be easy and fun. Each tool has its purpose, helping your project come out perfectly.
Choosing the Right Wall Space for Your Organizer
When planning your tool wall organizer DIY, it’s key to pick the right spot. This choice affects how well your garage tool storage will work. First, look for spaces that are easy to get to and close to where you work. This makes your DIY projects more efficient.
Also, check if the wall can bear the load of the organizer and tools. This is important for safety and stability.
Factors to Consider
Several things will help you choose the best spot for your tools:
- Accessibility: Tools should be easy to reach when you need them.
- Wall Material: Different wall materials can hold different weights.
- Space Constraints: Make sure there’s enough room to move around easily.
- Lighting: Good lighting makes finding tools easier.
Measuring Your Available Space
Getting the right measurements for your space is crucial. Use a tape measure to know the wall’s length and height. Think about how big your tools and organizer are so things don’t get too cramped. Leave extra space around the edges for better access.
If you’re using a sturdy wall, like brick, make sure it can hold your tools and organizer.
Materials Required for a Tool Wall Organizer
To make a functional tool wall, you need some key materials. Choosing the right parts will make your project both strong and tailored to your needs. Plywood or MDF are great for a DIY tool storage rack because they’re flexible and sturdy.
Plywood and MDF
Plywood and MDF are top picks for your tool wall organizer. They both ensure your tools hang securely. Plywood is very strong, perfect for heavy items, and MDF is smooth, making it easy to paint. Think about what you need before deciding between them.
Hooks, Bins, and Accessories
Your tool storage needs hooks, bins, and accessories to be complete. Hooks can hold all sorts of tools, and bins are great for small parts. To make sure everything stays in place, especially on brick walls, use screws and rawl plugs. You can even use old containers for unique storage spots.
| Material | Description | Uses |
|---|---|---|
| Plywood | Engineered wood made from thin layers glued together | Strong support for heavy tools |
| MDF | Densely packed engineered wood with a smooth finish | Ideal for lightweight applications and paintable surfaces |
| Hooks | Variety of shapes and sizes for hanging tools | Holds tools securely on the wall |
| Bins | Containers for organizing small tools and accessories | Enhances tool accessibility |
| Screws and Rawl Plugs | Fasteners for secure mounting | Ensures stability when installed |
Step-by-Step Guide to Building a Simple Tool Wall Organizer
Building a tool wall organizer is a fun project that can tidy up your space. First, gather all the materials you need. This step will make sure you’re ready to start building. Knowing how to create a tool wall will help you organize your tools better.
Preparing Your Materials
First, cut the plywood to fit your wall organizer size. Smooth the edges to avoid splinters. Then, pick up screws, brackets, and any hooks or bins you’ll use. Good prep is key to building it right.
Assembly Instructions
Begin assembly by picking a strong wall for support. Attach the plywood securely with brackets and screws. This ensures your tool wall is stable.
Organize your tools by size and how often you use them. Place big tools so they’re easy to reach and small ones higher or in bins. This layout helps keep things organized and saves space.
Creative Design Ideas for Customization
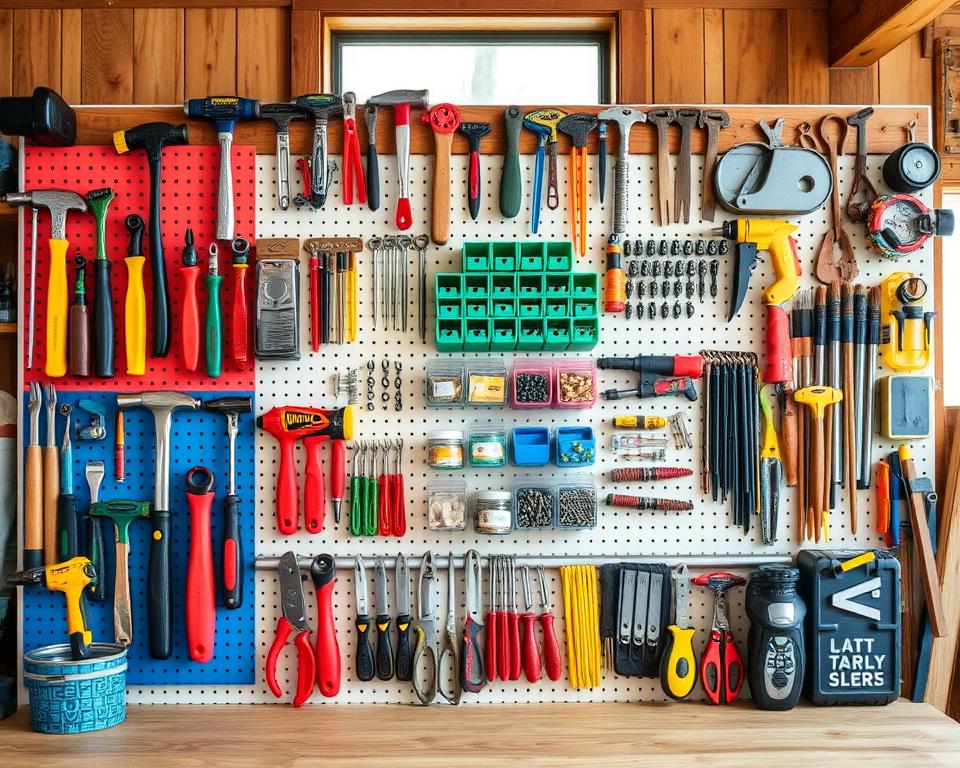
Making a tool wall doesn’t end with putting it together. You can make your DIY tool wall show off your style by trying out different design ideas. In the planning stage, you can choose cool colors and finishes. This will make your space look better and help keep your tools in order.
Color Schemes and Finishes
Think about using colors that go well together for your wood finish to bring in some elegance. Or, pick bright colors to add your own flair to the space. The right colors can turn your tool wall into something that catches everyone’s eye. For a cozy, country look, go for natural wood stains. If you want something lively, use bright acrylic paints for a bold look.
Functionality vs. Aesthetics
It’s important to balance how your tool wall works and how it looks. Make sure you can easily get to all your tools. This means planning out a smart layout that also looks good. You can add fun details like labels or special hooks. This makes finding your tools easy and makes the wall your own. A good design means your workspace isn’t just pretty, but it works well too.
Tips for Organizing Your Tools Efficiently
Organizing your tools well is key to any successful DIY project. By sorting your tools, you can make your work smoother. Putting similar tools together not only makes sense but also keeps your workspace tidy.
Categorizing Different Tools
Begin by sorting your tools by type, size, or how often you use them. You could group hand tools, power tools, and fasteners each in their place. This organization not just helps in finding tools easily but also keeps the area clean.
Using Labels for Easy Identification
Labeling can greatly improve your tool storage. By clearly marking each spot, you’ll spend less time looking for tools. Try using color labels or unique tags to spot each group fast. This not only looks good but also makes cleaning up easier.
| Category | Tools Included | Suggested Label Color |
|---|---|---|
| Hand Tools | Hammers, Screwdrivers, Wrenches | Blue |
| Power Tools | Drills, Saws, Sanders | Red |
| Fasteners | Nails, Screws, Anchors | Green |
| Measuring Tools | Rulers, Levels, Measuring Tapes | Yellow |
Safety Precautions When Working on Your DIY
When starting a DIY tool wall storage project, safety must come first. Working with tools and materials needs you to be careful. This is to make sure everyone is safe. It also makes the experience more fun.
Protective Gear to Consider
Before you begin, make sure you have the right protective gear. You will need:
- Safety goggles: They keep your eyes safe from dust.
- Work gloves: They protect your hands from cuts.
- Dust masks: They stop you from breathing in bad dust.
Safe Handling of Tools and Materials
Knowing how to safely handle tools is key. Here are important tips:
- Familiarize yourself with manual instructions: Every tool has a manual. It tells you how to use it safely.
- Secure materials: Make sure wood or other materials don’t move while you work.
- Be aware of your surroundings: Keep your workspace clean. Make sure no one is close when you use power tools.
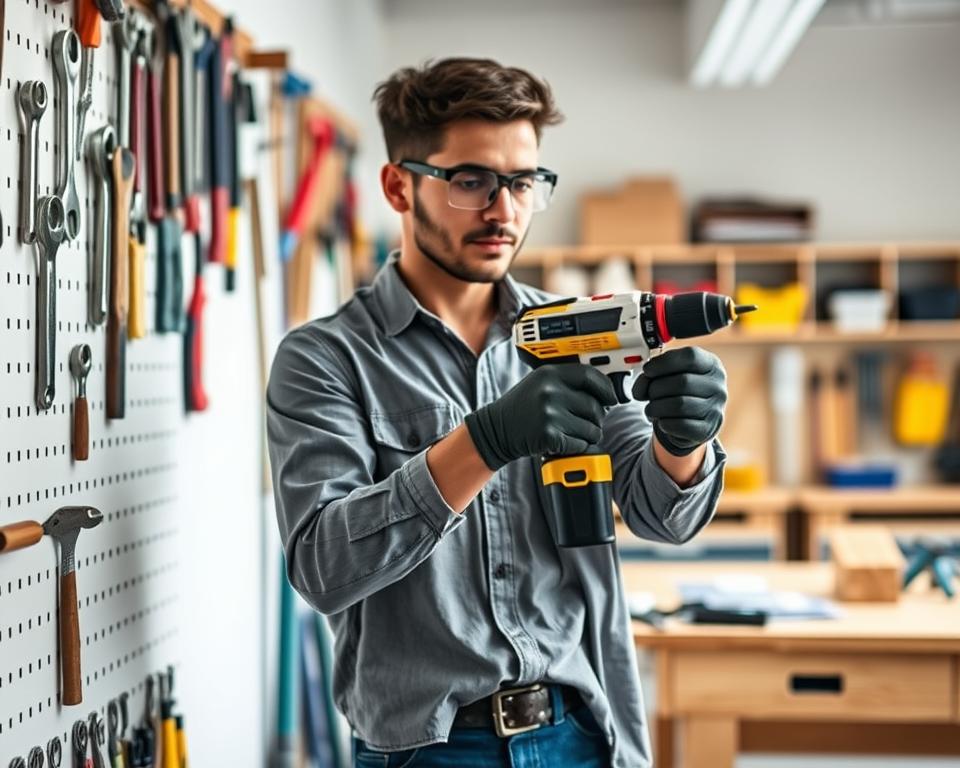
Focusing on safety helps finish your DIY project well. It also builds a culture of being careful while using tools.
Maintaining Your Tool Wall Organizer
To keep your DIY tool wall organizer in top shape, regular care is essential. How well tools are stored plays a big role in this. By doing routine checks, you can keep your organizer working well and easy to use.
Regular Checks and Updates
Checking your tool wall organizer often is a good practice. Look for loose parts or damage. Doing this helps your organizer last longer and keeps everything in order. It’s also smart to use calendar reminders for these checks.
Making Adjustments as Needed
When you get more tools, you might need to change your organizer. Add what you need, like hooks or bins, as your collection changes. This way, your DIY project stays useful and efficient, fitting your current needs perfectly.
Inspiration: Examples of Effective Tool Wall Organizers
Looking for inspiration to start your tool wall organizer? Many DIY fans have made unique tool storage systems. They show us various designs, materials, and decorations. These can make your area more efficient and look better.
Real-Life DIY Projects
Check out Pinterest for amazing garage tool storage pictures. People share details about their projects. This includes what wood they used and how they organized everything. Such examples could help you design your tool setup to be more accessible and nice-looking.
Online Resources and Communities
Joining online woodworking and DIY groups can offer lots of helpful advice. Sharing your projects can get you useful feedback. You can also get ideas from woodworking blogs. They post tutorials and photos of creative tool storage. So, don’t be shy to ask questions and find new ideas for your tool wall organizer.