ADVERTISEMENT
Did you know indoor plants can make you happier and clean the air by 60%? That’s why more people want to add plants to their homes. Making your own plant stand is an easy way to do this. Whether you want a sleek look inside or a strong stand outside, this guide has you covered. When you build a wooden plant stand yourself, you can make it exactly how you like. This beats any store-bought option. So, get your materials ready, and let’s start this fun DIY project!
Key Takeaways
- Indoor plants can significantly enhance mood and air quality.
- Creating your own plant stand offers a chance for personalization.
- This guide covers how to make a plant stand for both indoors and outdoors.
- DIY projects like this are often more affordable than buying ready-made options.
- A wood plant stand can beautifully complement your home decor.
- Following a step-by-step guide simplifies the building process.
Why You Should Create Your Own Plant Stand
Making your own plant stand unleashes your creativity. It lets you enjoy the perks of DIY projects. Every piece you make, like a unique plant stand, shows off your personal style. It’s a great way to spruce up your home. Plus, there’s joy in making something one-of-a-kind.
Benefits of DIY Projects
DIY projects let you show off your creative side and learn by doing. They offer more than just crafting skills. They give a feeling of achievement and can be fun to do with others. Starting from zero can boost your problem-solving abilities while making your home more you.
ADVERTISEMENT
Personalization Options
A DIY plant stand can be made just how you like it. You get to choose everything from design to color. This means whether you love a country feel or sleek lines, your piece will feel special. Picking out finishes and decorations makes your stand not just unique, but yours.
Affordability Comparison
Building a plant stand can save you money. DIY stands usually cost less than store-bought ones. Using old wood or scraps can cut costs even more. This way, you end up with something that fits your space perfectly, without breaking the bank.
Materials You’ll Need for Your Plant Stand
Making a plant stand by yourself means choosing materials carefully. Knowing which woods are best not only makes it look good but also lasts longer. We’ll look into the top wood choices, what else you need for a DIY project, and the tools to build a stand.
Wood Types: Which to Choose?
The type of wood you pick is crucial for your plant stand’s look and strength. Here are some top picks:
- Pine: It’s a favorite for being cheap and easy to find. Plus, it’s light and simple to handle.
- Oak: It’s tough and lasts a long time. Great if you need your stand to hold big plants.
- Cedar: Its natural resistance to moisture makes it perfect for inside or outside.
Other Essential Supplies
Aside from wood, you’ll need a few key items for a DIY plant stand:
- Screws: Wood screws will keep everything tight together.
- Wood glue: It adds extra strength, especially at the connections.
- Flat-topped wood plugs: They hide screw heads for a cleaner look.
Tools Required for Build
To build your plant stand smoothly, you need the right tools. Here are the essentials:
- Saw: You can use a circular or miter saw to cut the wood.
- Drill: A must for making holes and putting in screws.
- Sandpaper: For smoothing out any rough spots.
| Wood Type | Durability | Cost | Best Use |
|---|---|---|---|
| Pine | Moderate | Low | Indoor Stands |
| Oak | High | Medium | Heavy Plants |
| Cedar | High | Medium | Outdoor Use |
Step-by-Step Guide to Building Your Plant Stand
Making a plant stand yourself is fun and lets you be creative. Our guide helps you through each step, making the project simple and fun. You’ll learn everything from getting your space ready to cutting and putting together your stand.
Preparing the Workspace
First, make sure your workspace is clean and organized. This helps you work better and keeps you safe. Get your tools and materials ready, and make sure you can see well. This important step helps your project go smoothly.
Cutting Your Wood to Size
Next, figure out how long to cut your wood. Use a good measuring tape and a square for accurate marks. Choose the right saw for your wood. Making accurate cuts means your plant stand will fit together perfectly.
Assembling the Stand
Now, it’s time to put it all together. Start by putting the legs on the base the right way. Make sure everything is straight and use screws or glue to hold it. If your stand has shelves, attach them carefully. You’ll end up with a strong, well-made plant stand to enjoy!
Creative Design Ideas for Plant Stands
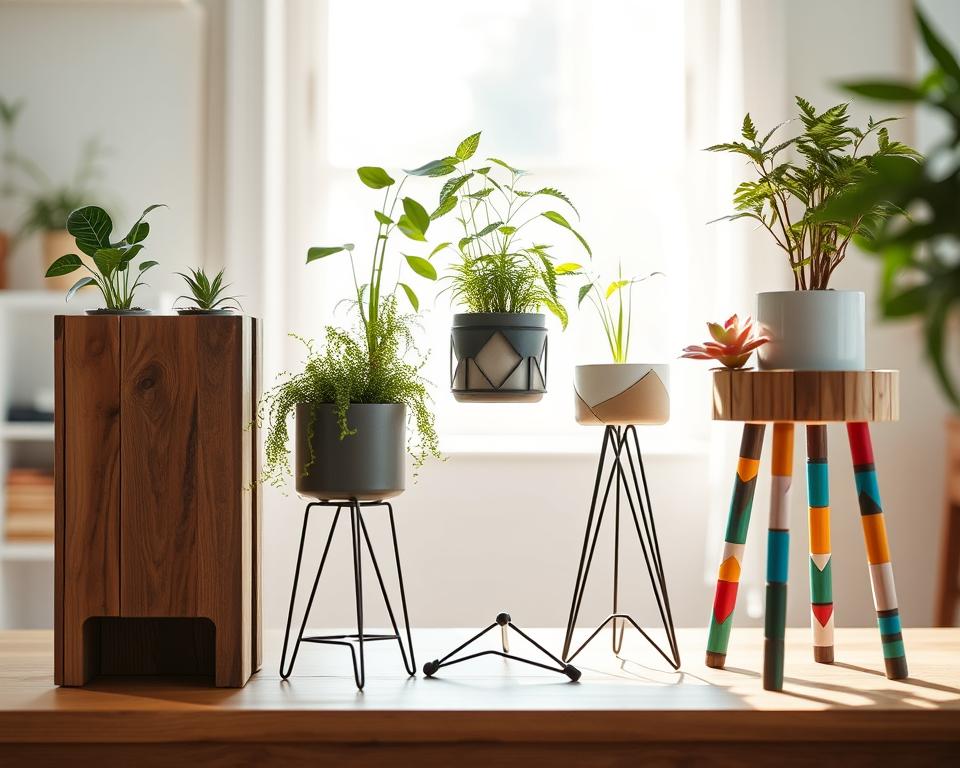
Plant stands do more than hold your plants. They can also make your home look better with cool designs. Whether you like a warm, rustic look or a modern, sleek style, there’s a plant stand for you. Let’s talk about making stands that are pretty and useful.
Rustic Styles for a Cozy Look
A rustic plant stand brings comfort and charm to your room. They’re often made from old wood or have a worn look. Just imagine a stand with pretty succulents matching your home’s nature vibes. Adding details like iron or rope makes them even more rustic. Try using old crates or tree stumps for a unique touch.
Modern Minimalist Options
If you like things simple, modern plant stands are for you. They use clean lines and simple colors. These stands often have cool shapes that add a modern touch. A plant stand with several levels can be both useful and stylish. Pick plants like cacti or small ferns for that minimalist look.
Combining Functionality with Aesthetics
You can mix usefulness with beauty in your plant stand designs. Think about adding spots for gardening tools or extra shelves for more plants. Creative shapes, like tall stands, help save space and show off many plants. The idea is to make your plant stands look great and work well in your home.
Finishing Touches for Your Plant Stand
After building your plant stand, it’s time for the final touches that make it stand out. The right finish can change the wood’s look and extend its life. We’ll look at paint and stain choices, protection methods, and how to add personal touches.
Painting and Staining Techniques
Choosing the best paint or stain is key to how your stand will look. Paint lets you pick any color, and stain shows off the wood’s beauty. Here are tips for a top-notch finish:
- Preparation is Key: Always sand the wood smooth before starting.
- Test Swatches: Try out colors on small areas first.
- Consistent Application: Apply evenly with a brush or roller to avoid drips.
Sealing and Protecting the Wood
Sealing the plant stand keeps it safe from moisture and damage. The right sealant fights off water, decay, and bugs, keeping your project looking great. Choose from polyurethane, varnish, or oils, each offering different looks and strengths:
| Sealant Type | Finish | Durability |
|---|---|---|
| Polyurethane | Glossy/Matte | High |
| Varnish | Amber Hue | Medium |
| Oil | Semi-Gloss | Medium |
Adding Decorative Elements
Adding special touches shows off your style. Things like stencils or unique knobs make a big impact. Think about these ideas:
- Decorative pots that go with your stand’s color.
- Hanging planters for more interest.
- Unique stencils for a one-of-a-kind look.
Where to Place Your Plant Stand
Putting your plant stand in the right spot can make your space look better. It also helps your plants grow. Finding indoor and outdoor spots for your plant stand can turn your place into a lively green area.
Ideal Spots in Your Home
Look for places near windows as you move from room to room. Your plants will get plenty of sun here. Putting them on shelves, in corners, or next to furniture looks nice.
Using plant stands raises up your plants. This makes them easier to see and helps with air flow.
Outdoor vs. Indoor Considerations
For indoors, pick spots where your plants get lots of light and water. Outside, choose areas like flower beds or patios that get sun.
Always think about the weather and wind outside. This will help your plants do well.
Utilizing Vertical Space
Vertical stands are great when you don’t have much room. They let you show off many plants without taking up too much space.
This is really helpful in small places. You can make any corner feel like a small jungle.
Troubleshooting Common DIY Issues
Starting a DIY project is exciting, but you might hit some roadblocks. These often include making plant stands stable or fixing alignment in your work. Learning to handle these problems will improve your DIY experience.
Fixing Wobbly Stands
A shaky plant stand needs a quick fix. First, see if all the legs are the same length. A level will show you which legs are off. You can put rubber pads under them or adjust their length for stability. For a stronger fix, use wood glue or brackets to keep it steady.
Correcting Alignment Problems
DIY projects sometimes don’t line up right. Make sure everything is square before putting it together. If something looks off, take it apart and line it up again. Clamps are helpful to hold things in place while you work. And always double-check your measurements to avoid mistakes.
Addressing Material Shortages
It’s a pain to run out of supplies mid-project. Always start with a full list of what you’ll need. If you do run short, try hardware stores or online shops. Sometimes, finding a different material can even make your project better than planned.
DIY Plant Stand Safety Tips
Ensuring safety during DIY projects is vital. Knowing how to use tools, choose materials, and set up your space is key. These steps keep you safe while making your plant stand.
Proper Tool Use Guidelines
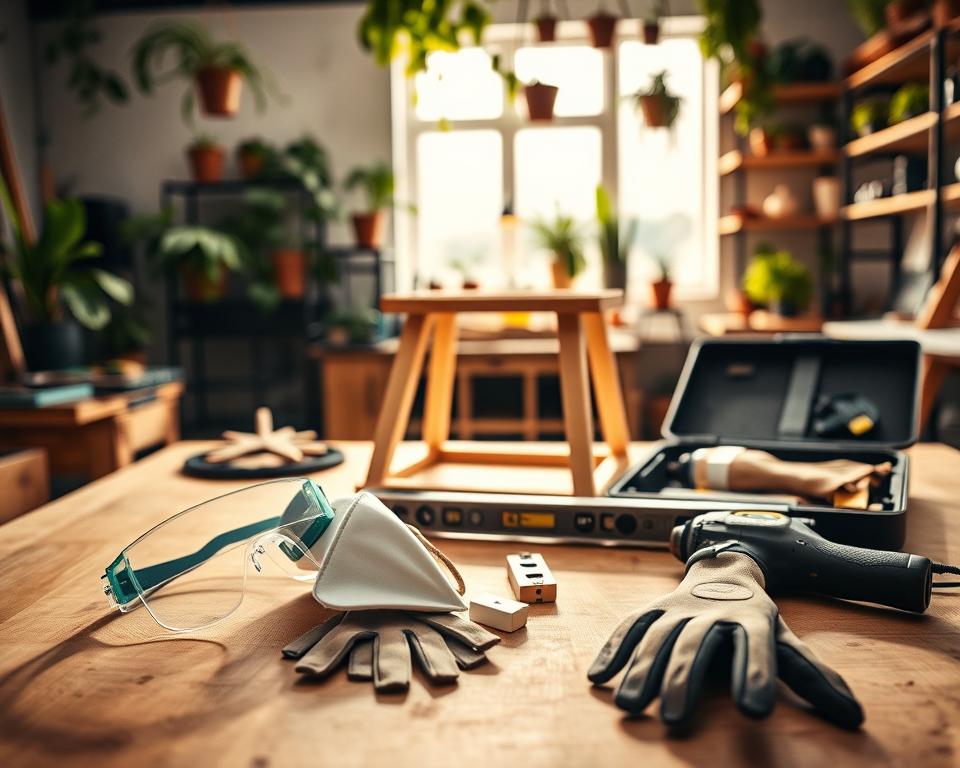
For your plant stand project, focus on using tools safely. Always wear safety goggles and gloves to protect against injuries. Learn how to use each tool and stay focused to avoid accidents. Check your tools regularly to make sure they are not damaged.
Material Safety Considerations
Choosing the right materials is crucial for safety. Be careful with stains and adhesives as they can be harmful. Work in a place with lots of air, and wear a mask if needed. Always read product labels carefully and follow the instructions to stay safe.
Building in Secure Locations
Pick a safe spot for your DIY work. Use a clean and tidy area that has good lighting. Make sure you have all the tools you need close by. Also, avoid places with lots of people or uneven floors to keep safe.
Inspiring Plant Stand Ideas from the Community
Exploring DIY plant stand designs reveals a wealth of creativity. People show off stands that blend many styles, from classic to cutting-edge. Each stand carries the unique flair and imagination of its creator, whether it’s sleek and modern or charmingly whimsical.
Using reclaimed materials is a hot trend in DIY projects. It’s not only stylish but also eco-friendly. Turning old items like pallets and furniture parts into plant stands not only looks great but helps the planet too.
Looking for new ideas? Join online forums and connect with DIY fans. Sites like Pinterest and DIY groups are perfect for sharing and finding inspiration. This way, you not only discover awesome designs but can also share your own, making a creative community thrive.